


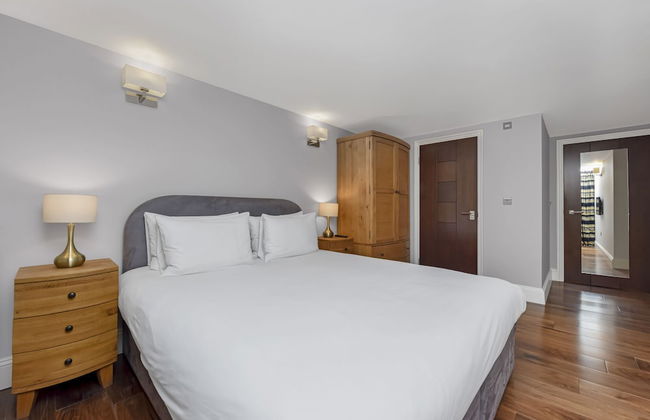


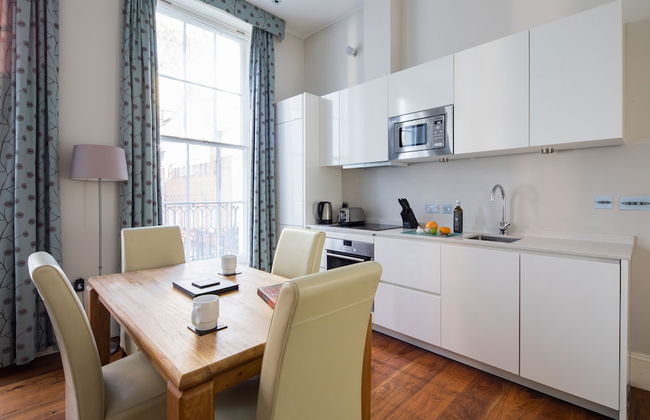
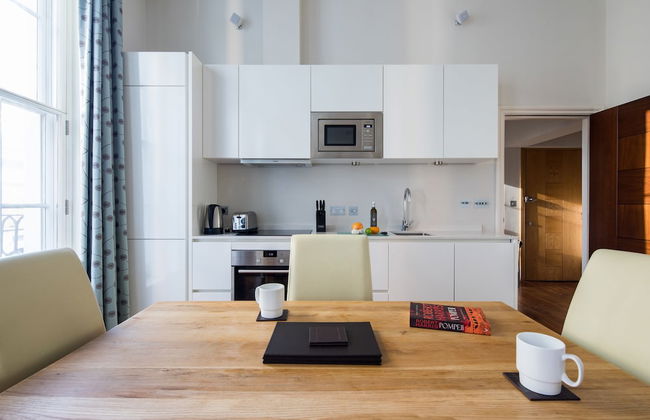


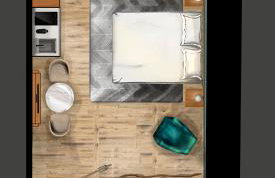
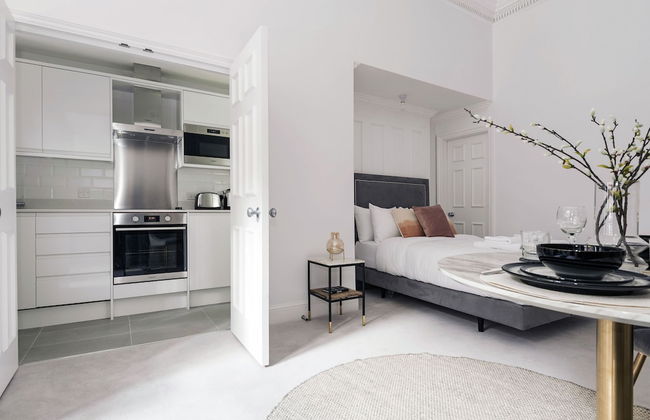
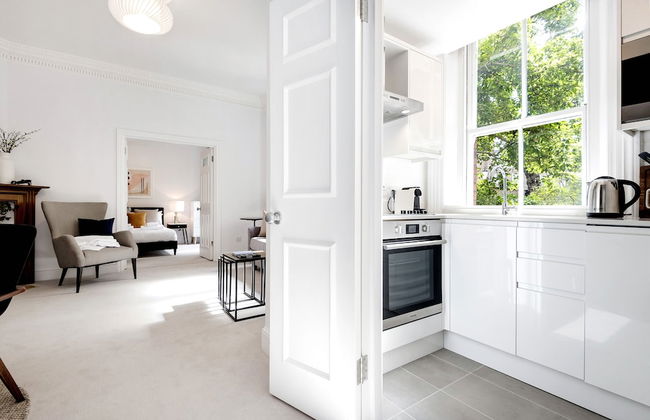
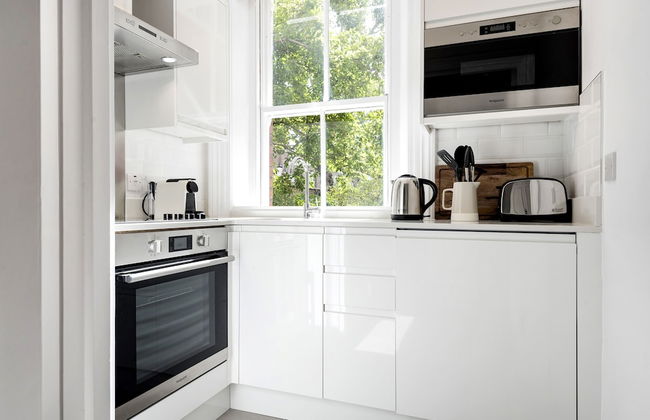
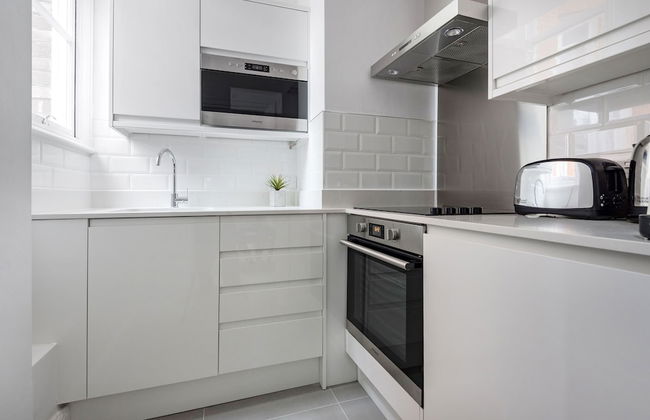
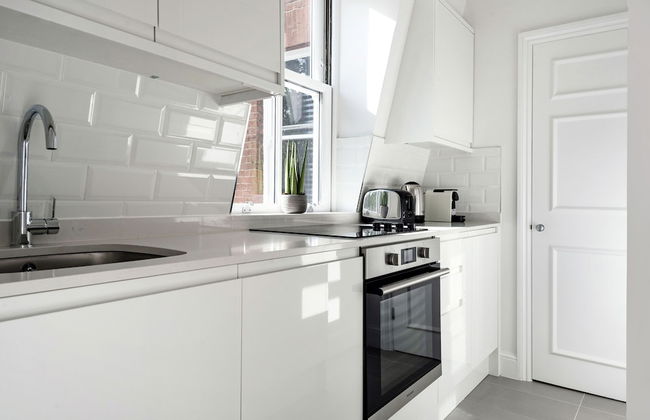
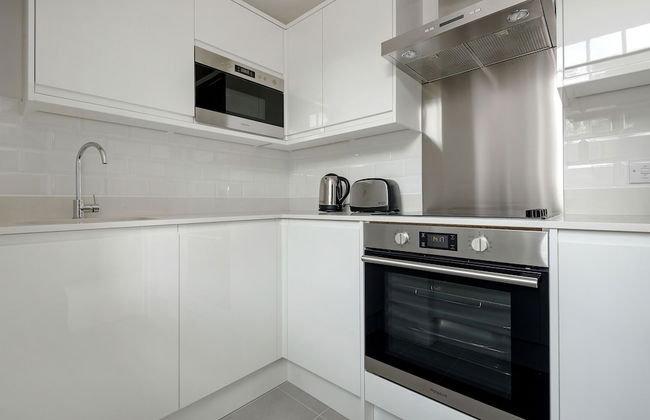
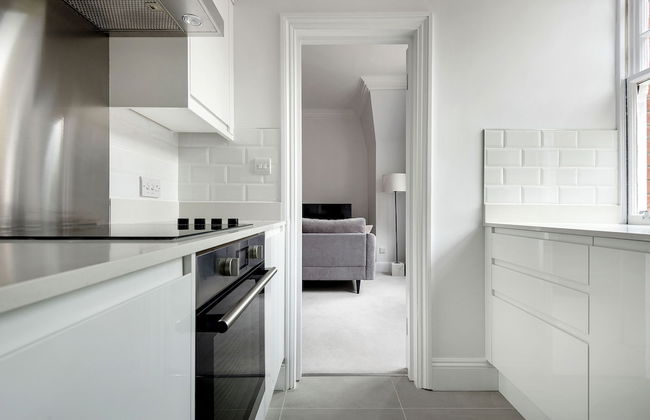
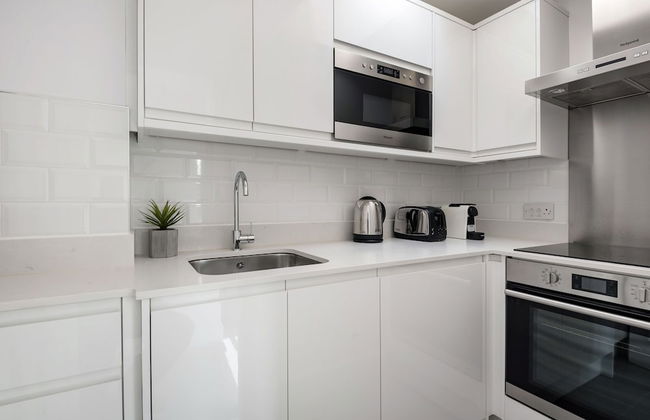
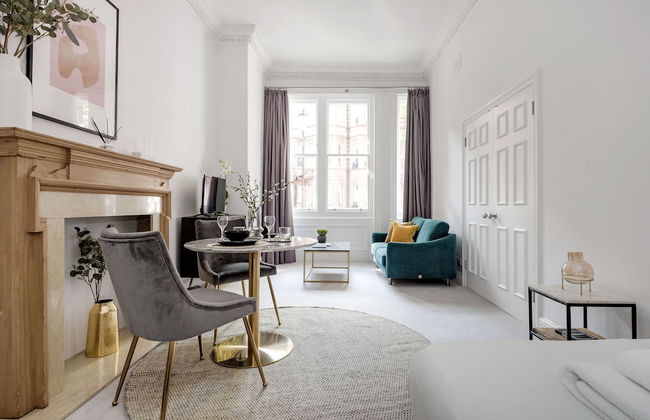
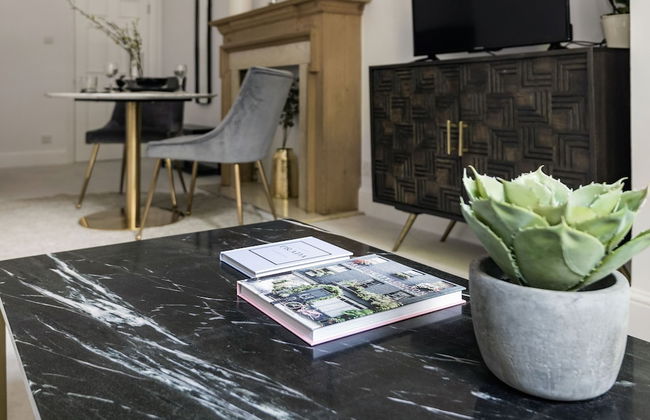
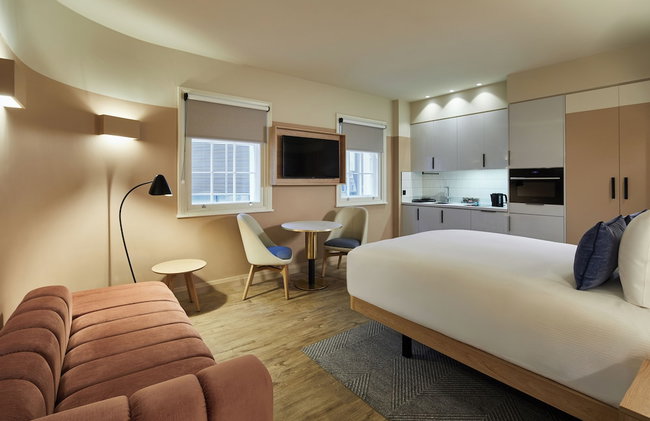
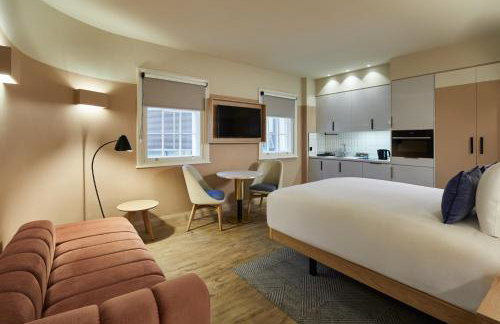
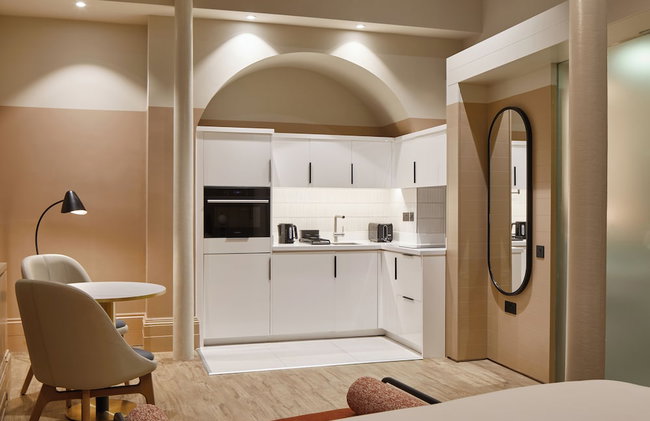
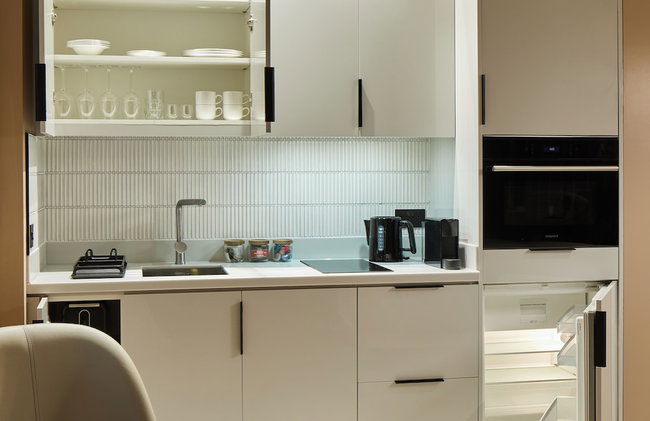
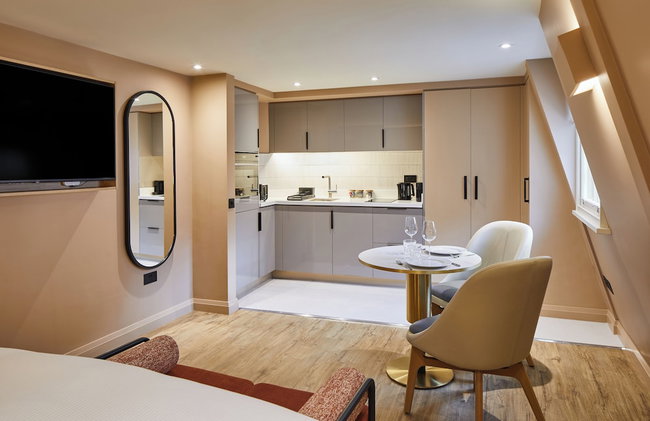
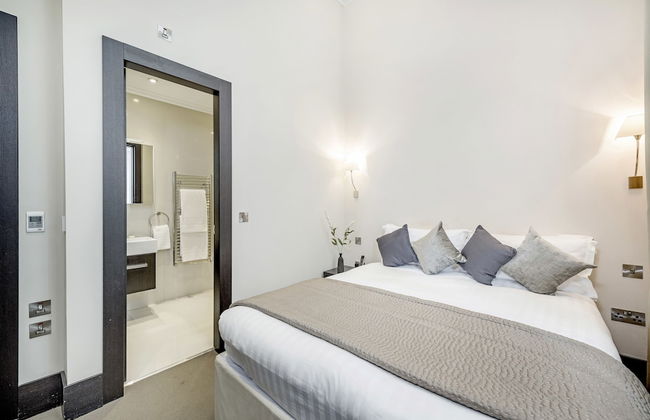
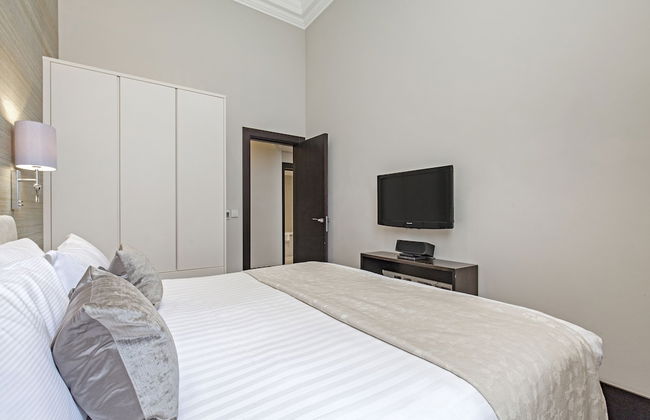
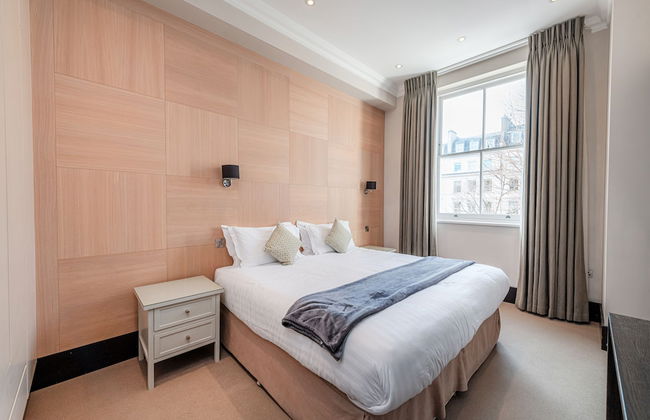
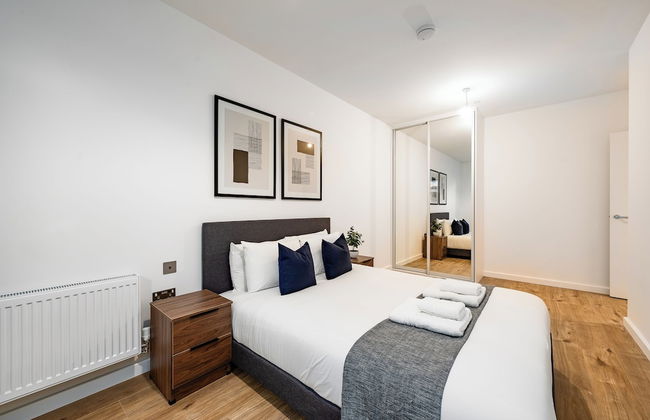
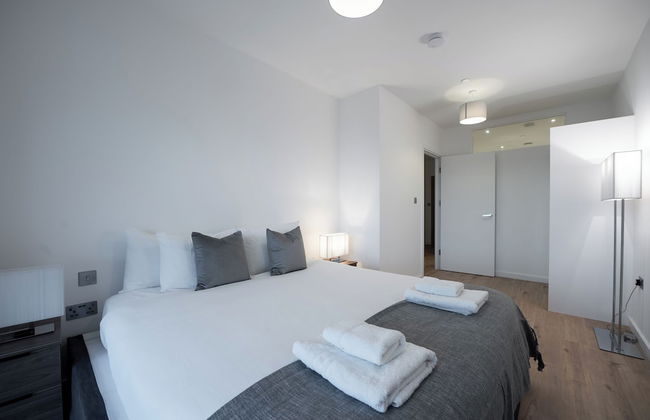
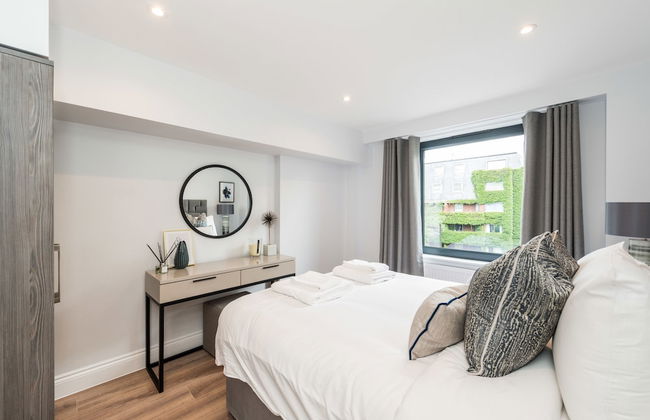
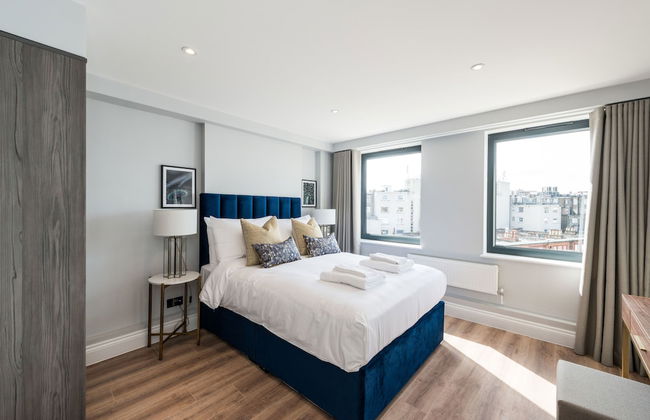
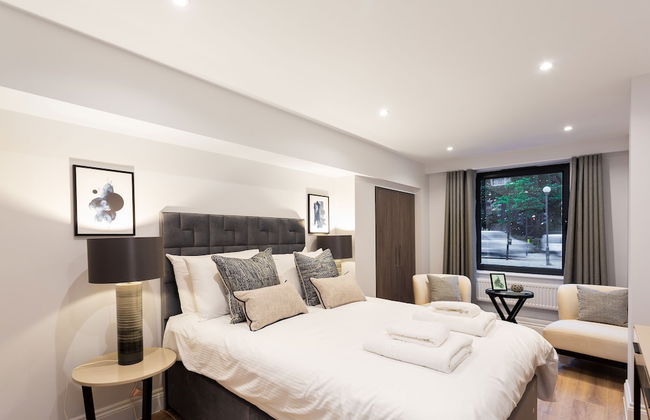
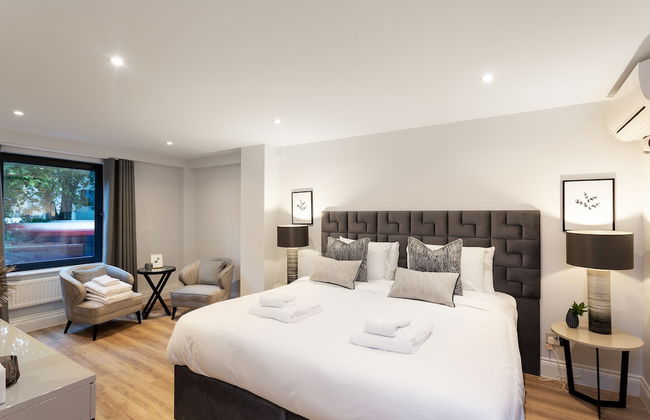
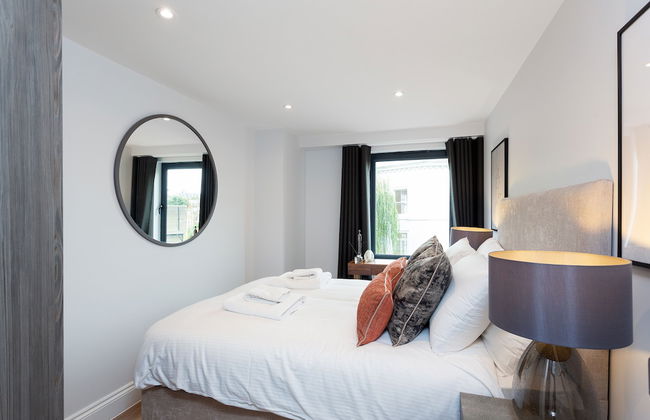
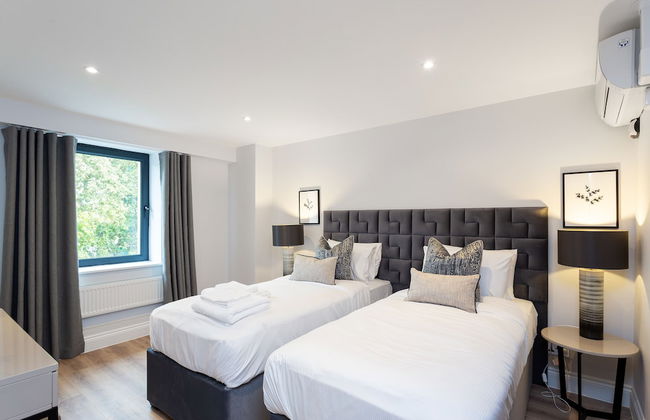
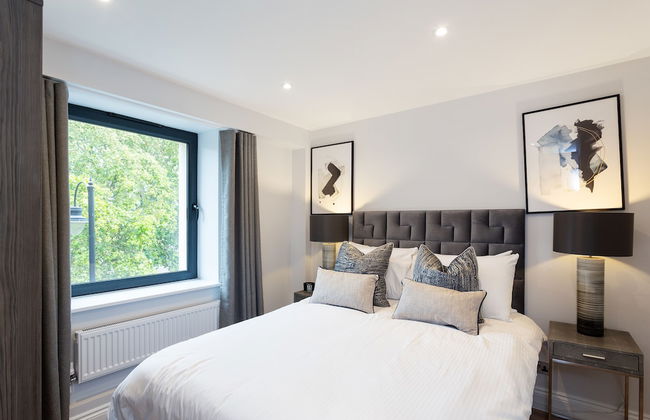
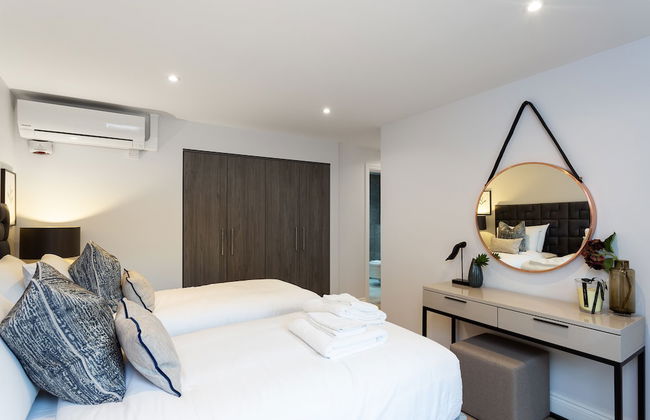
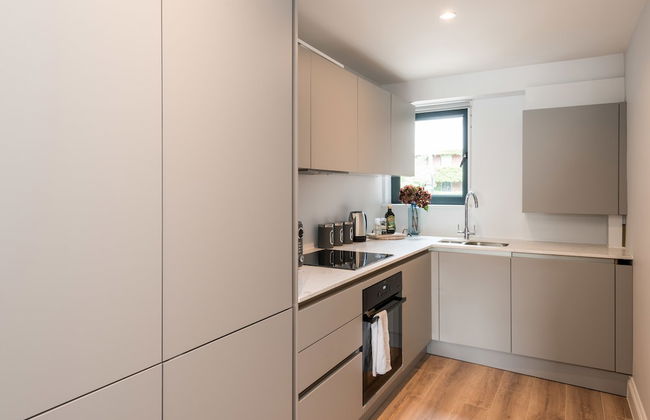
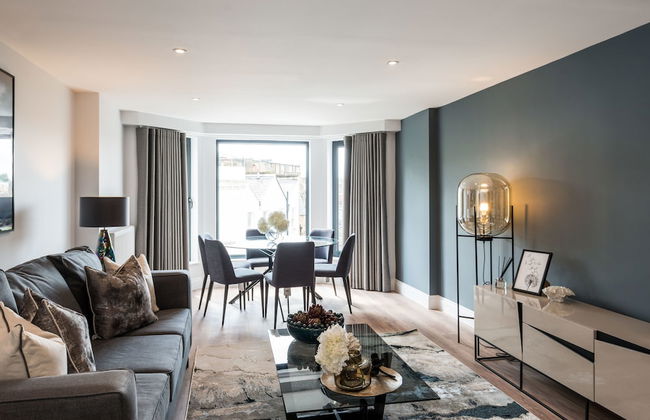
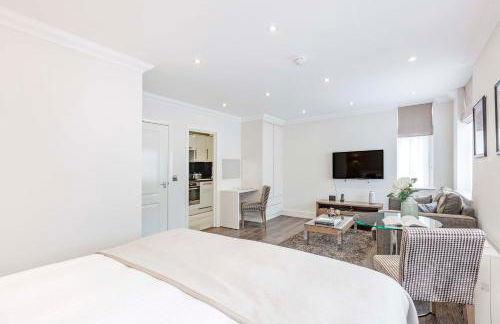
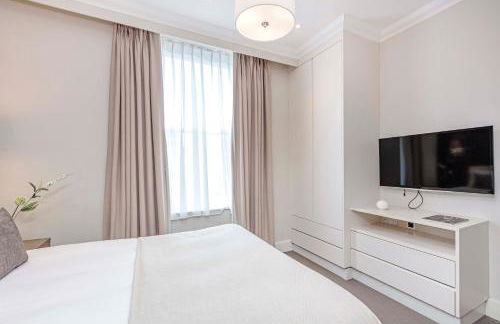
Tavistock Place Apartments
London - St Pancras - 1.5 km from the center
- 105 M2
- 7 people
- Heating
- Terrace
- Elevator
- Balcony
- Tv
- Washing machine
- Fireplace
- Bath linen
- Bed linen


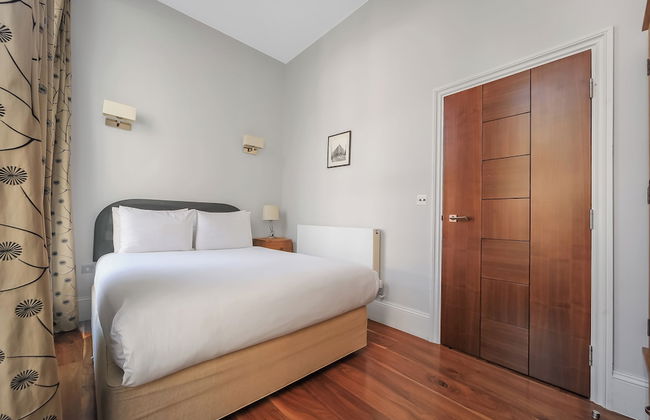
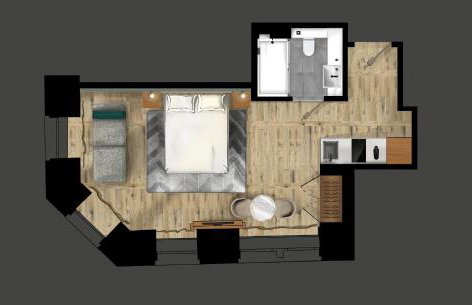
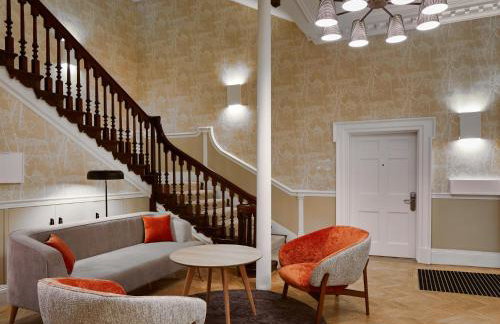
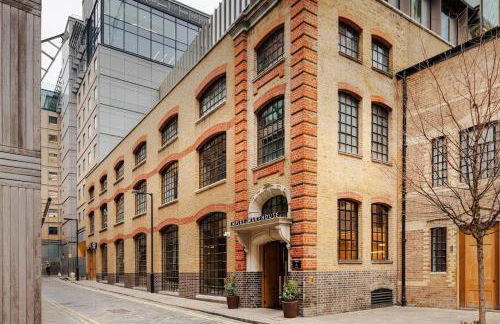
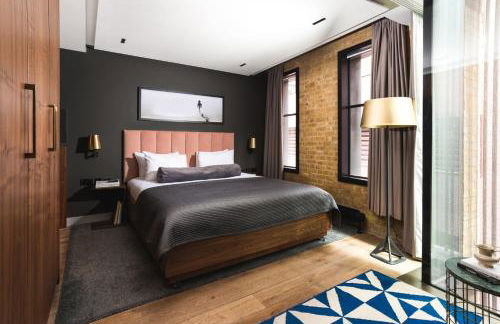
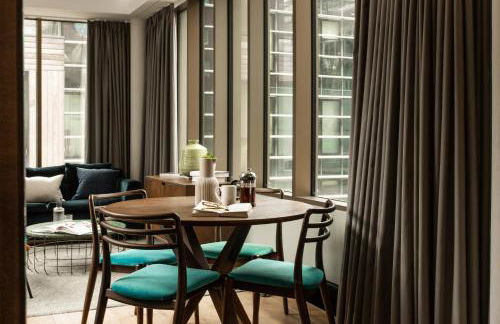
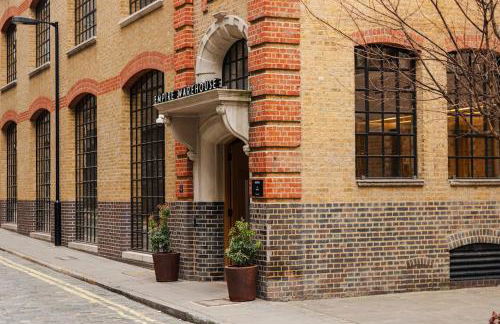
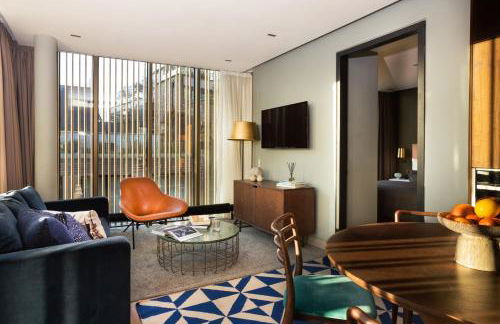
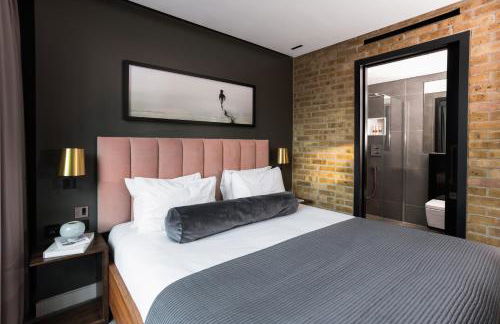
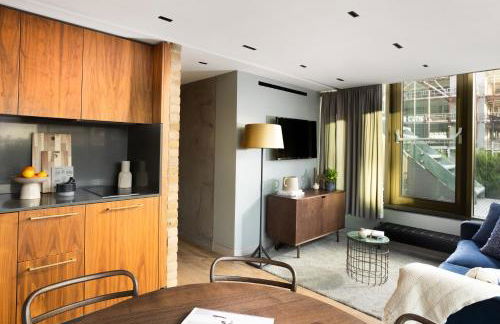
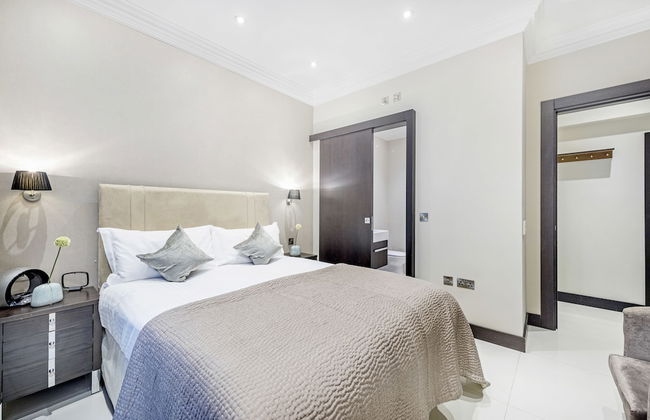
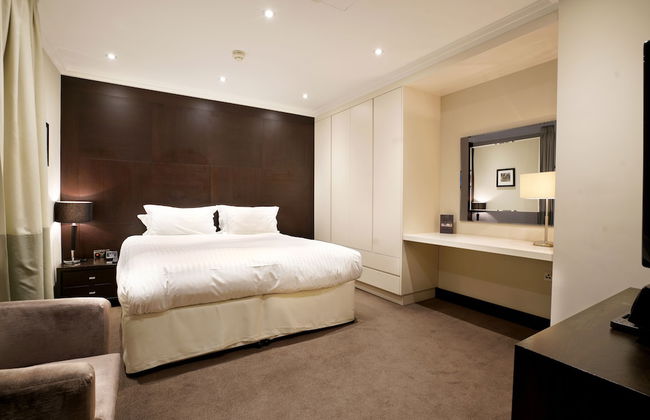
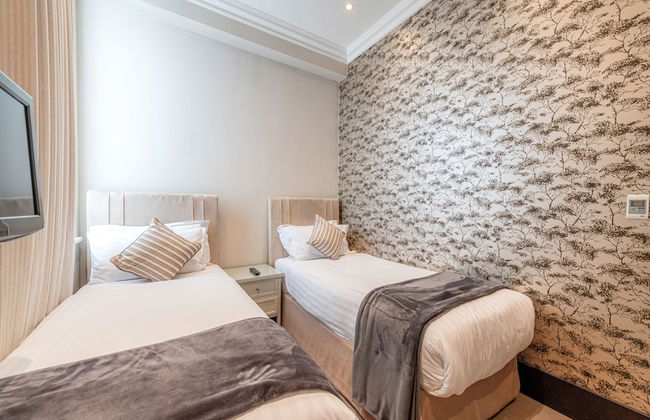
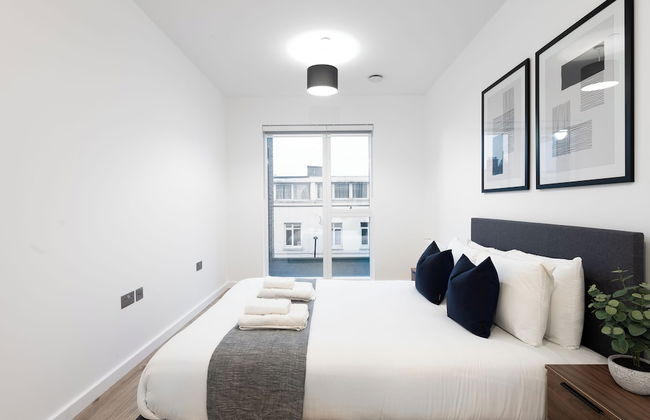
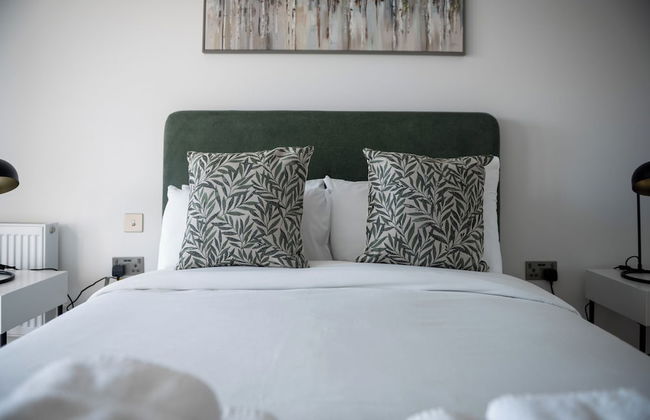
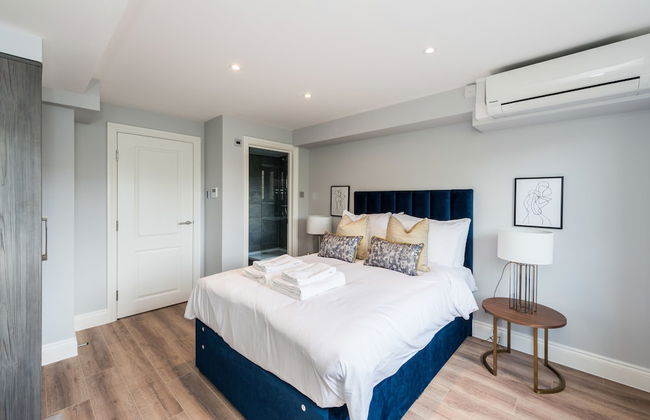
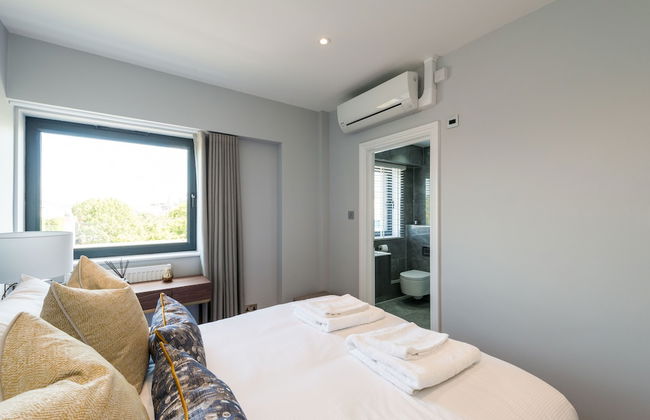
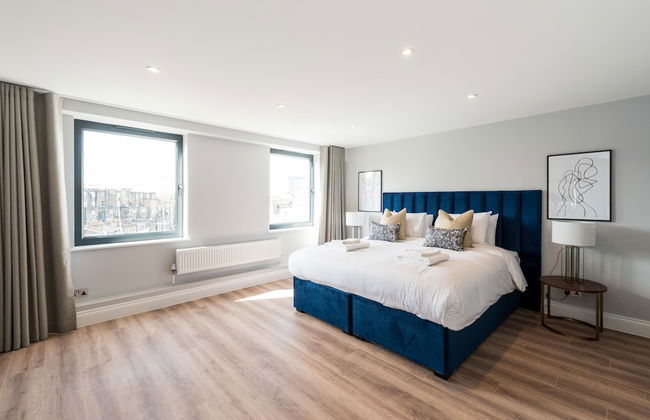
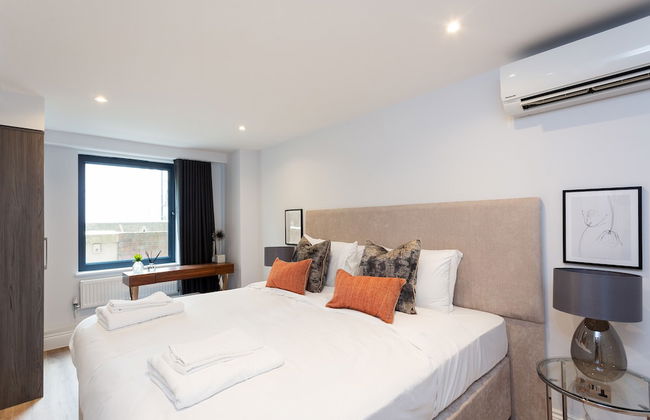
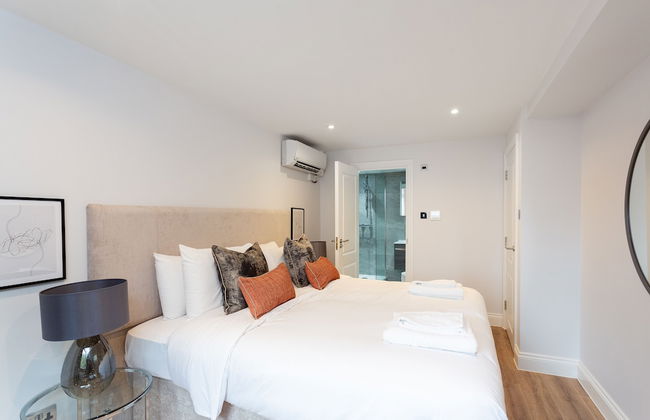
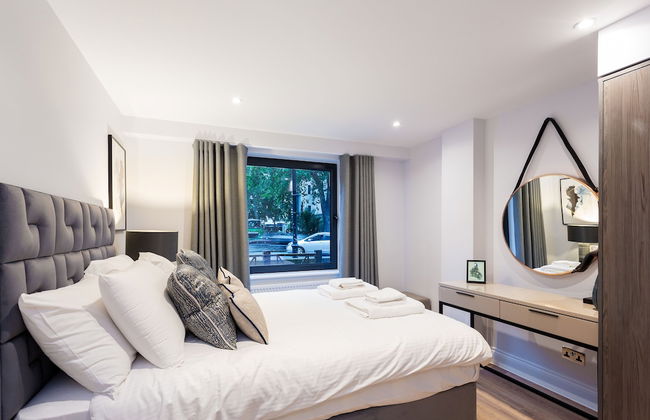
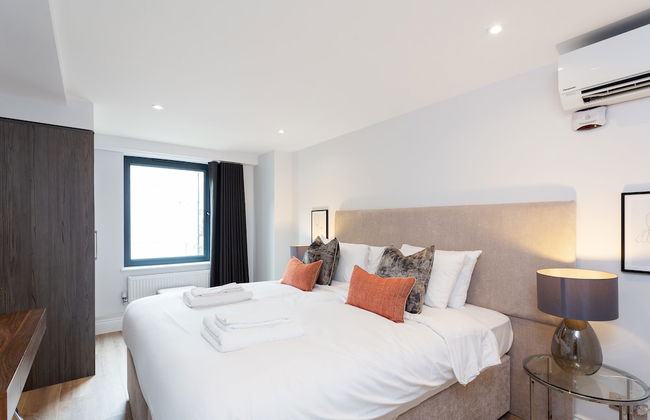
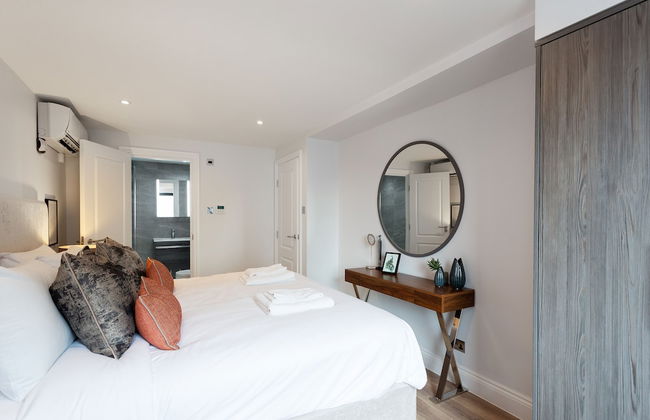
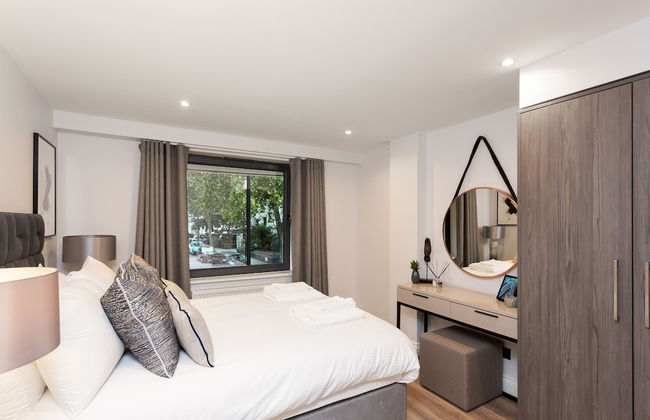
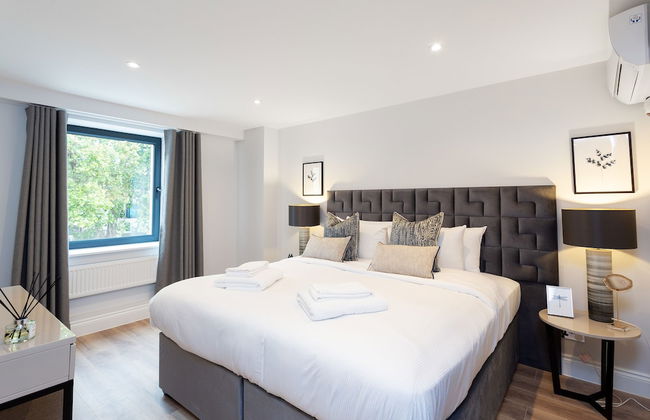
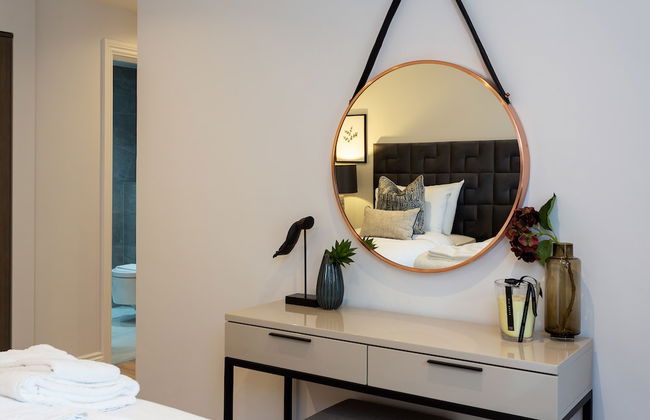
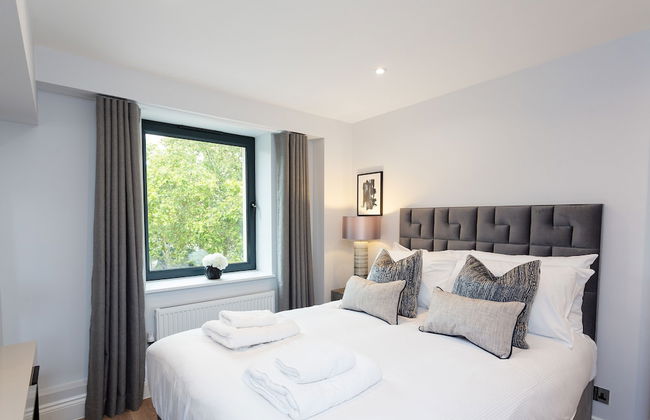
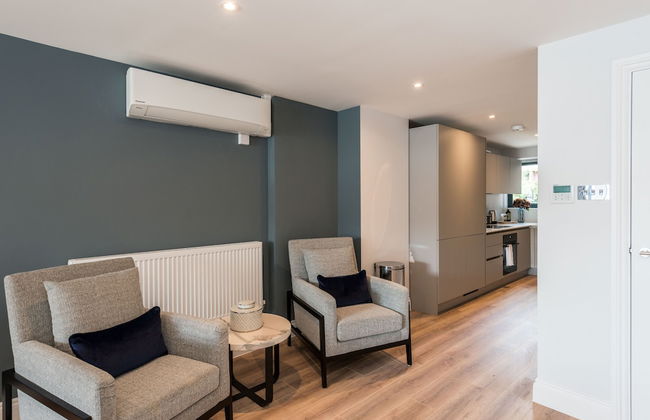
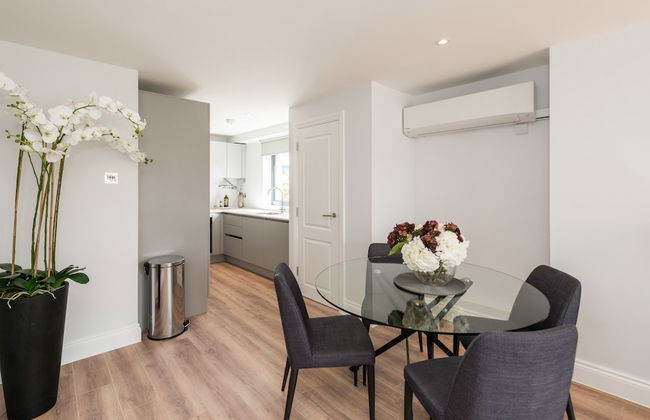
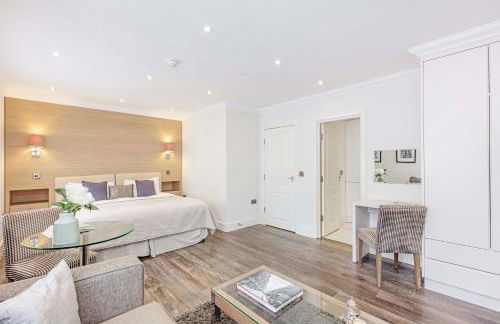
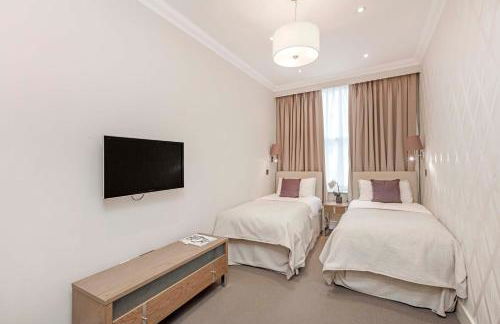
The Eight Apartments Shoreditch
London - Shoreditch - 3.4 km from the center
- 112 M2
- 3 bedrooms
- 6 people
- Air conditioning
- Heating
- Elevator
- Tv
- Washing machine
- Bath linen


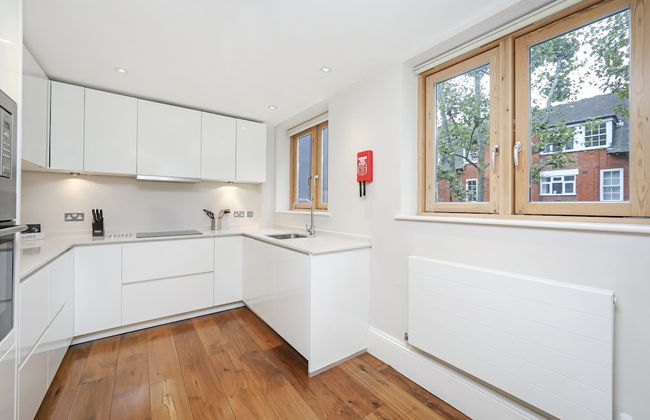
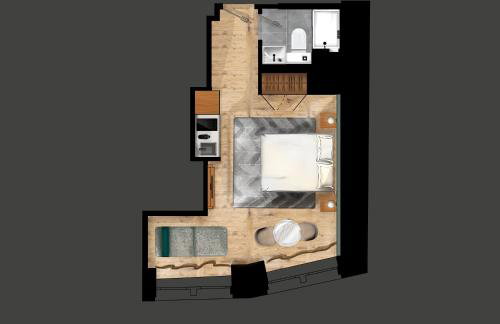
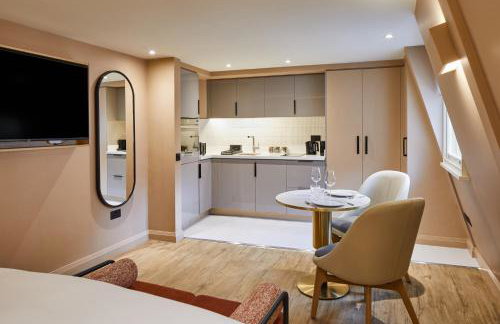
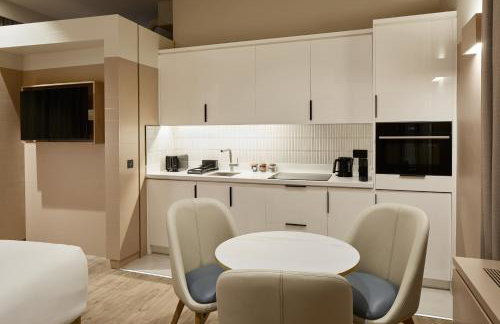
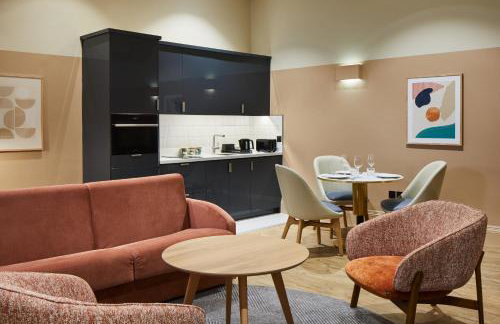
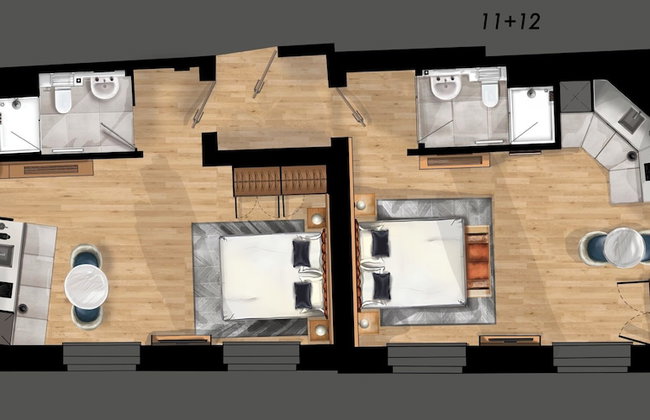
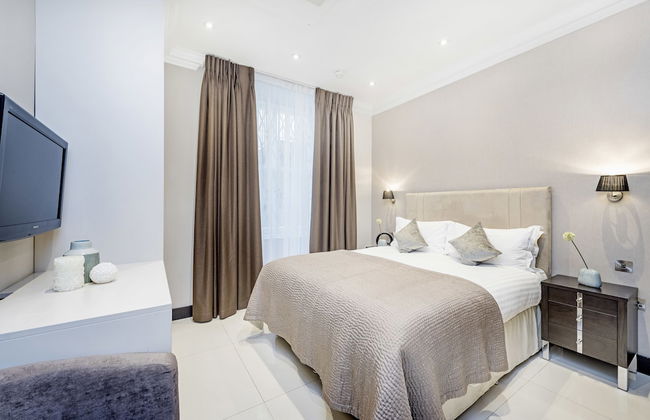
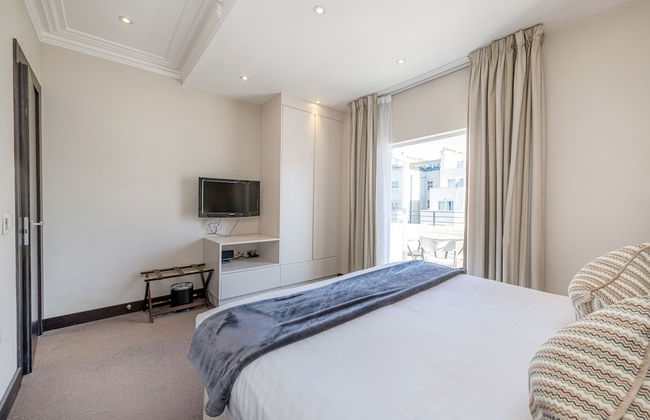
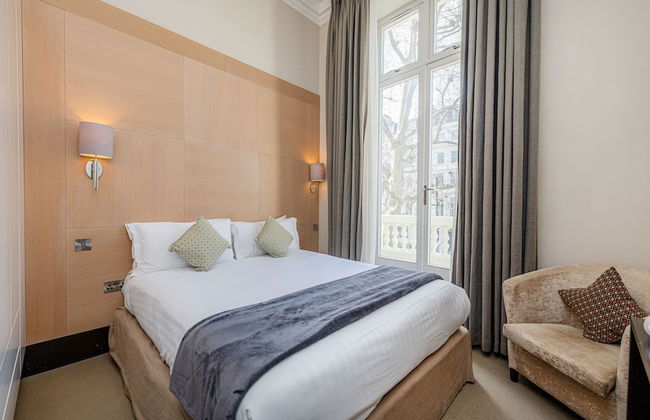
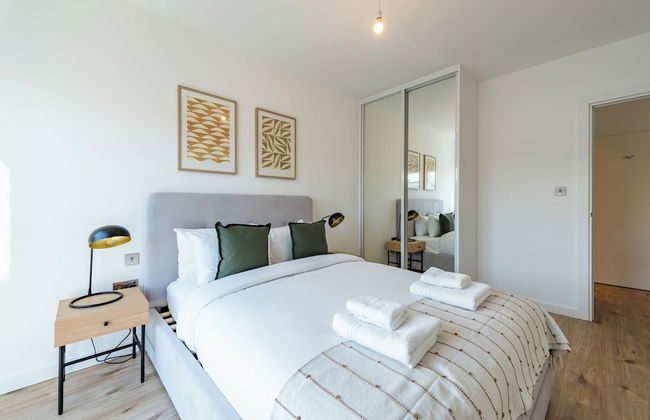
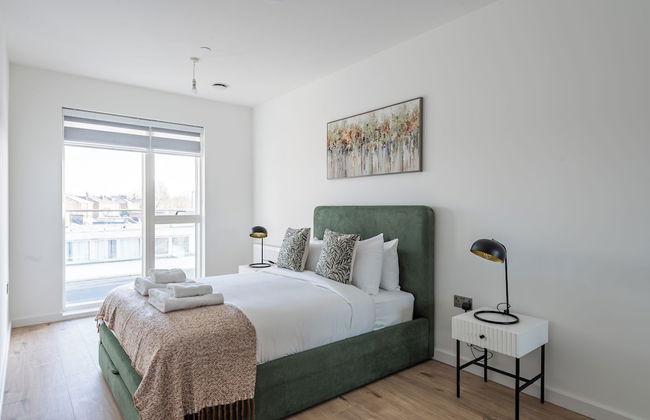
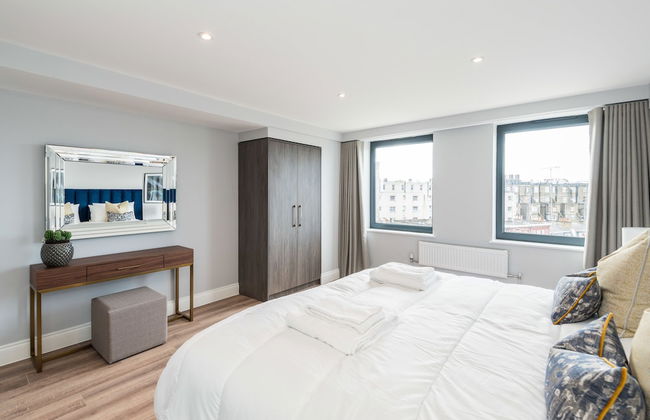
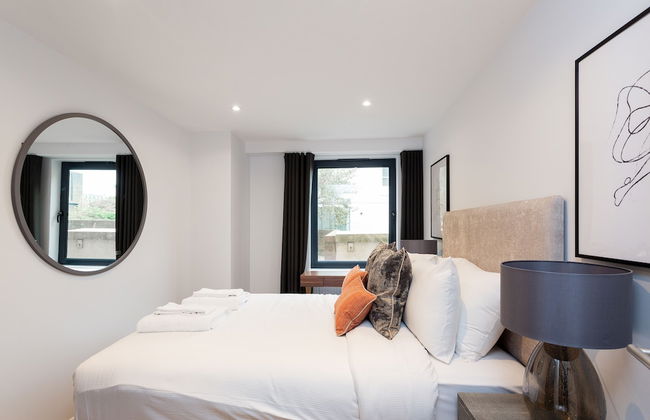
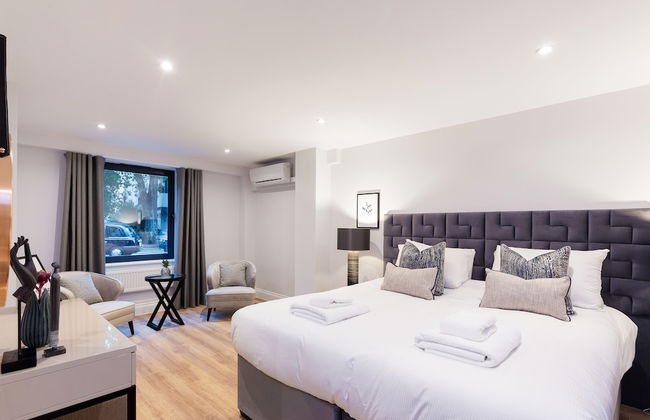
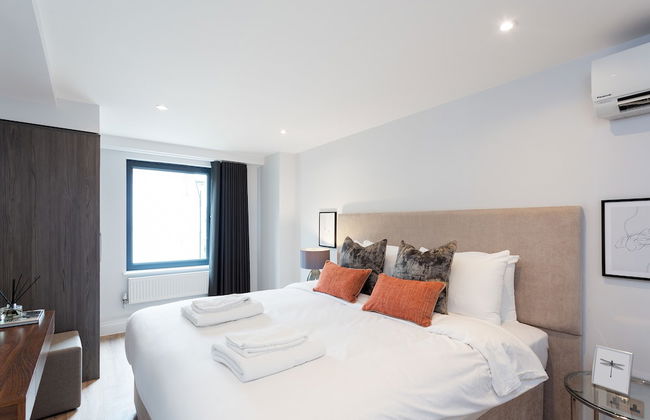
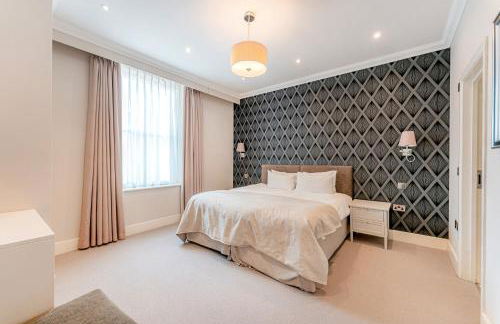
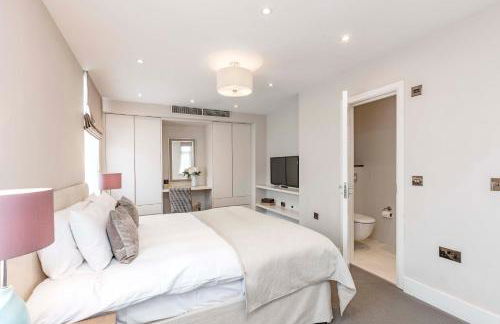
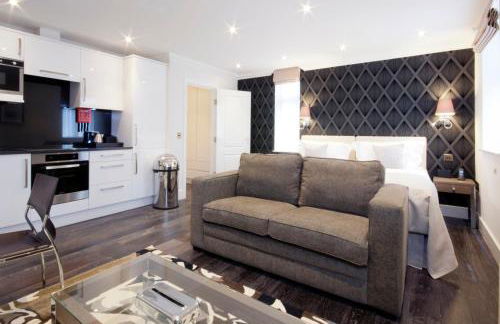
47 Park Street - Grand Residences by Marriott
London - Mayfair - 1.5 km from the center
- 89 M2
- 6 people
- Kitchenette
- Air conditioning
- Heating
- Parking
- Elevator
- Tv
- Bath linen
- Bed linen


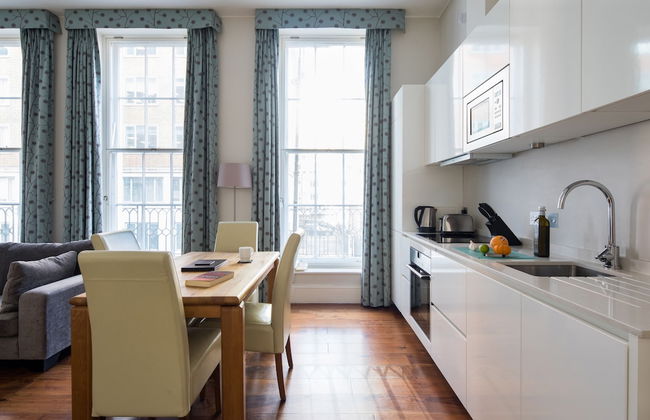
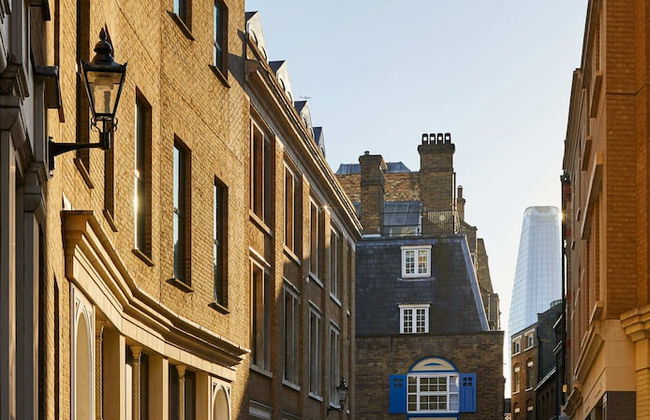
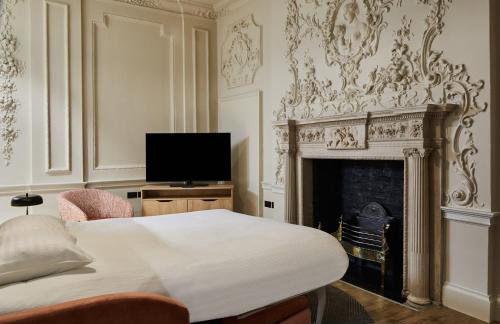
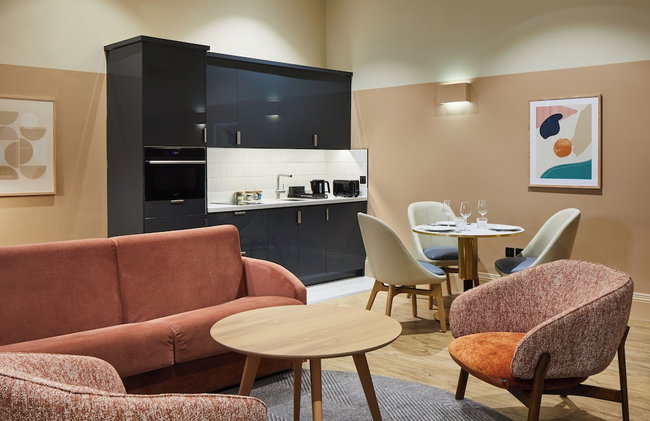
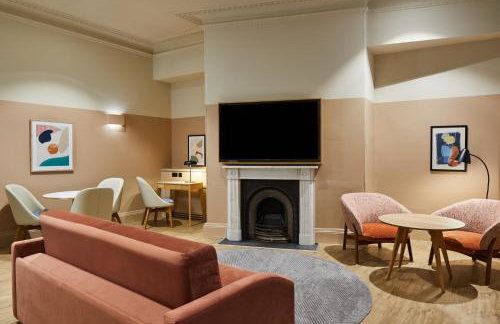
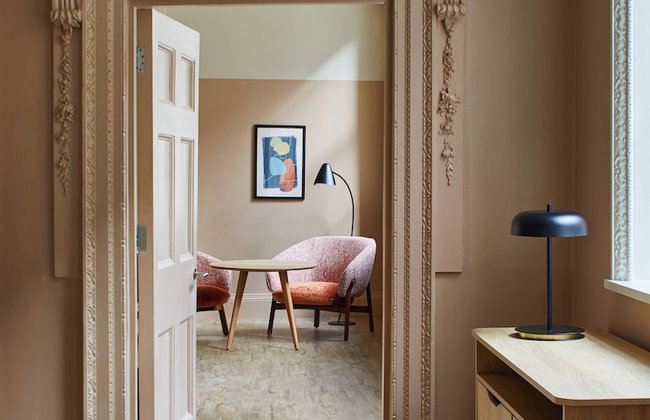
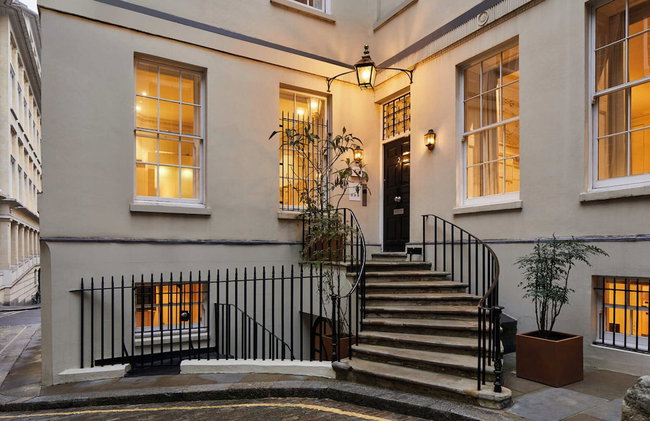
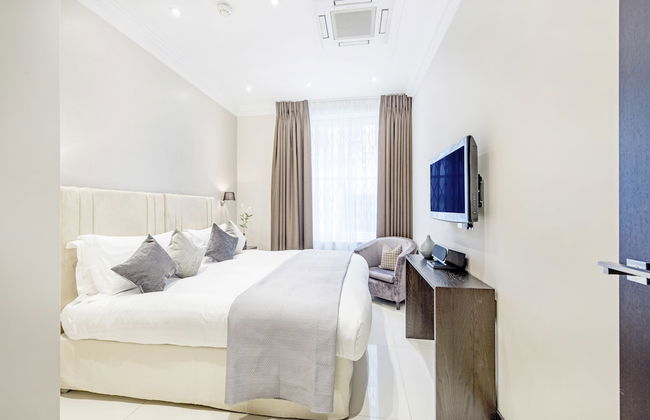
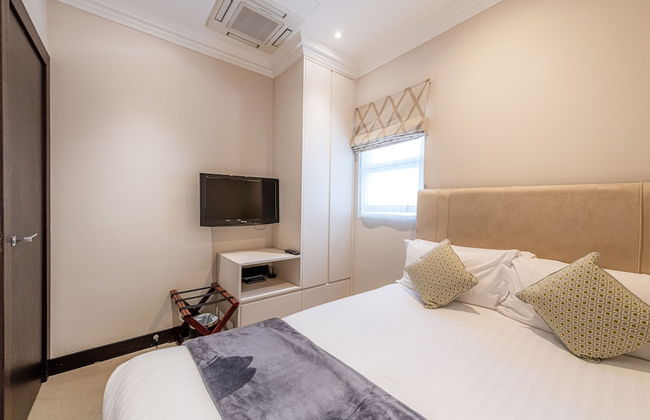
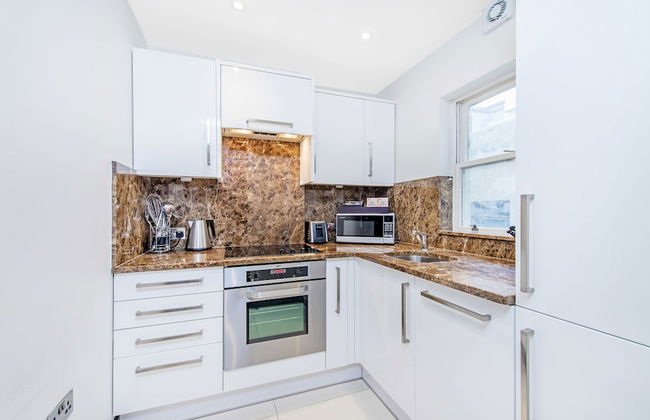
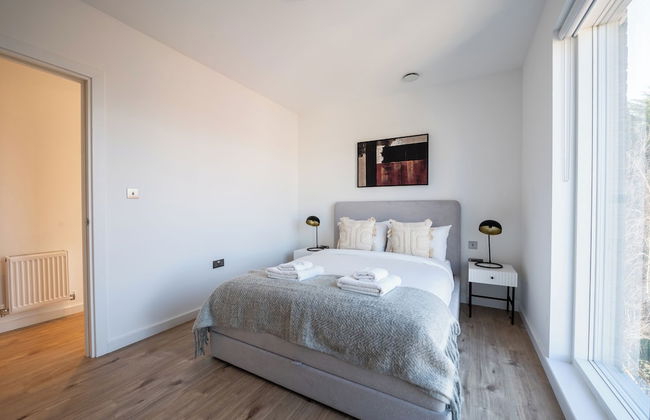
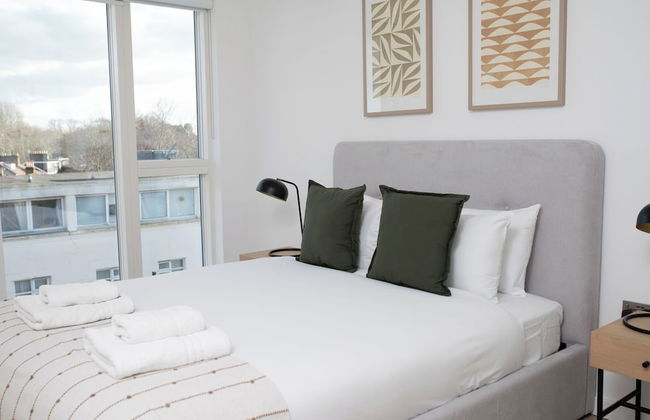
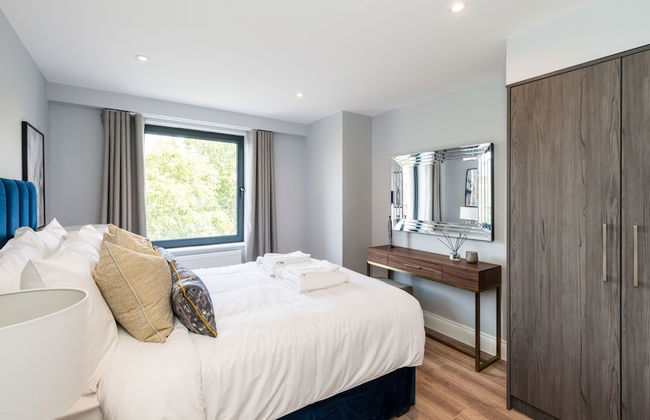
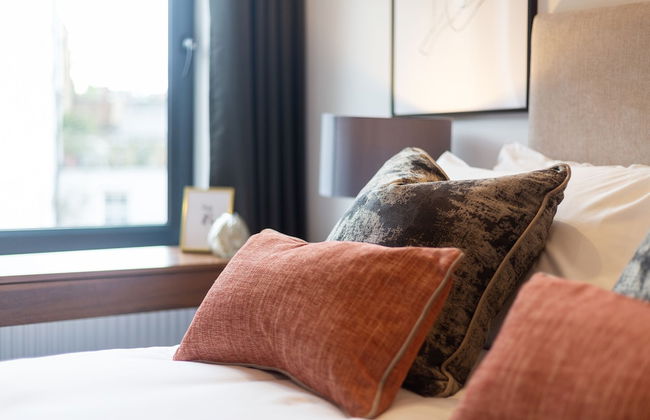
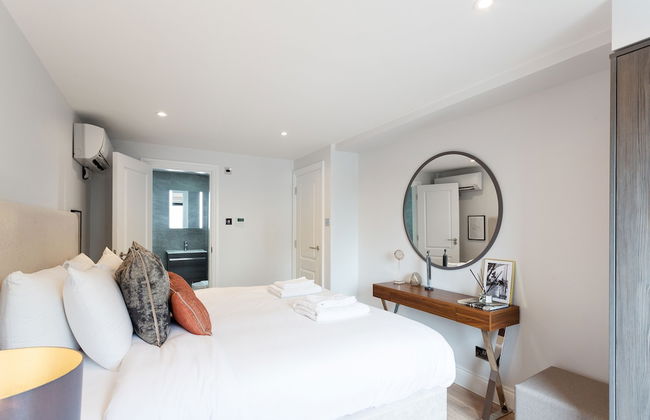
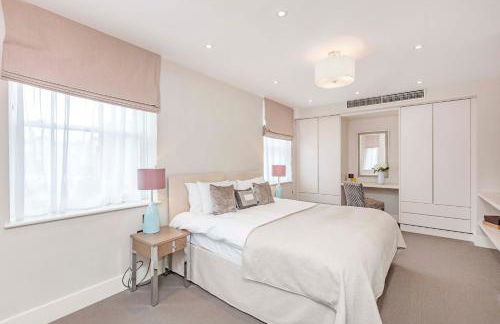
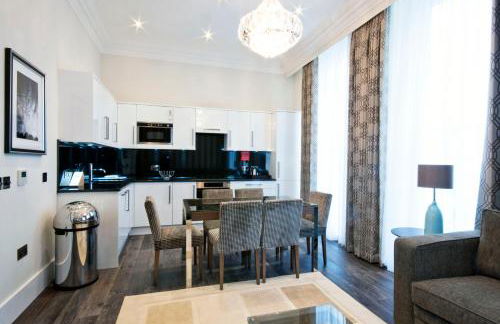
9 Hertford Street – 4 Stars VisitEngland
London - Mayfair - 930 m from the center
- 75 M2
- 1 bedroom
- 4 people
- Air conditioning
- Heating
- Terrace
- Parking
- Elevator
- Tv
- Washing machine
- Fireplace
- Bath linen
- Bed linen


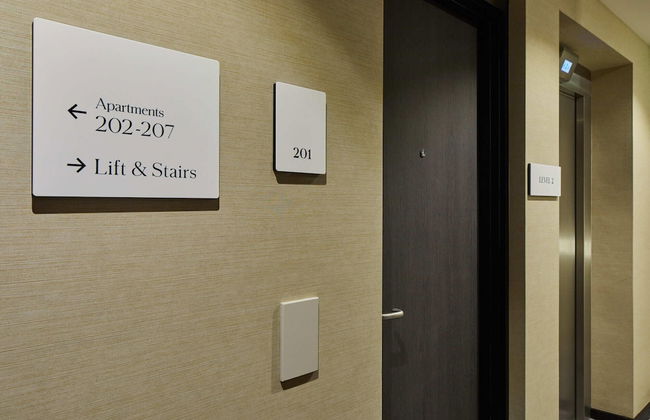

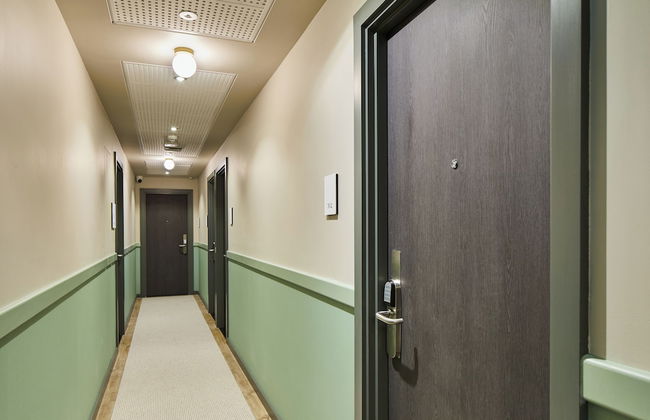


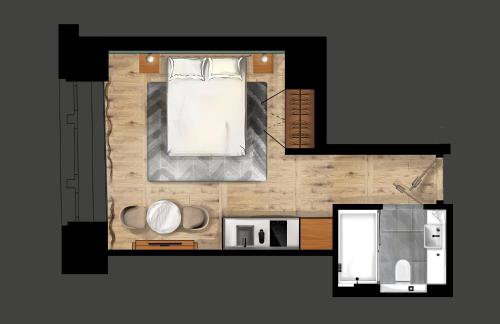
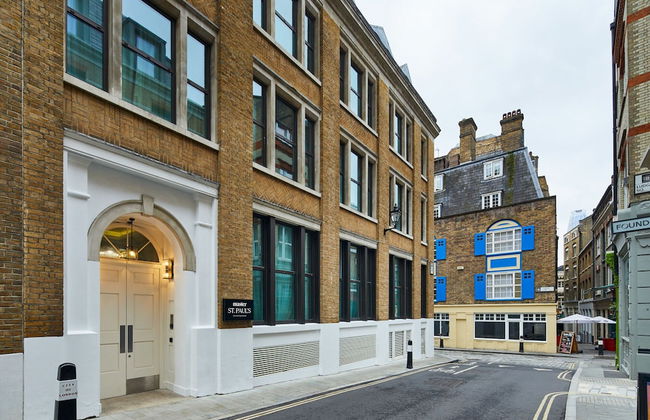


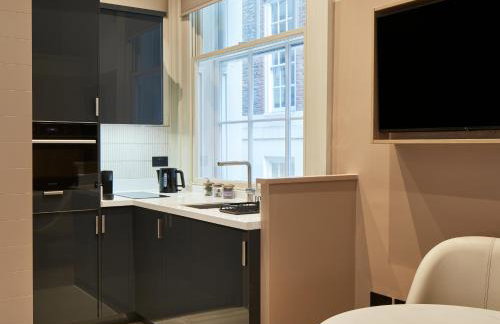
master St. Paul's
London - City of London - 170 m from Saint Paul's Cathedral
- 50 M2
- 2 bedrooms
- 5 people
- Air conditioning
- Heating
- Swimming pool
- Elevator
- Tv
- Washing machine
- Bath linen
- Bed linen


The Brondesbury by Nestor
London - Kilburn - 7.2 km from the center
- 20 M2
- 2 people
- Kitchenette
- Heating
- Terrace
- Elevator
- Garden
- Tv
- Bath linen
- Bed linen


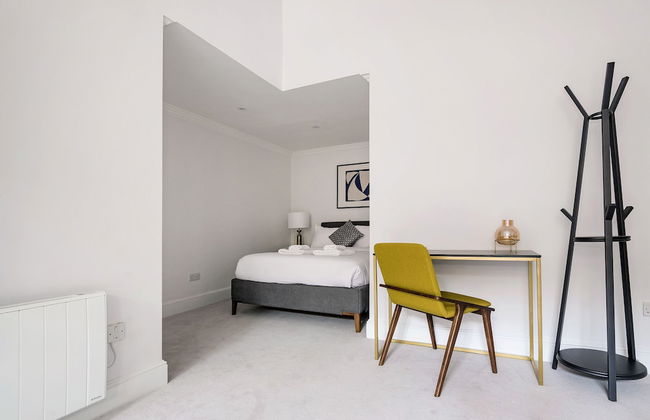
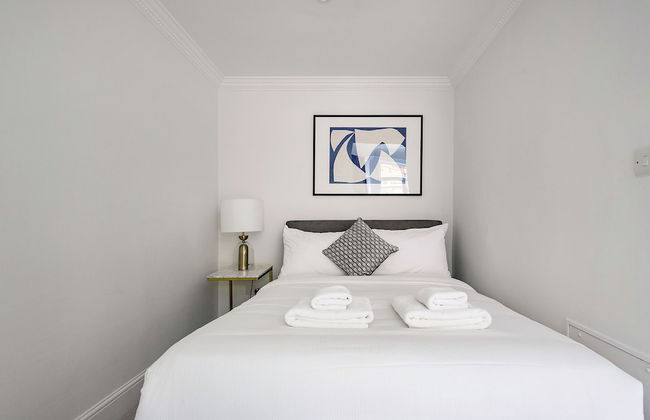
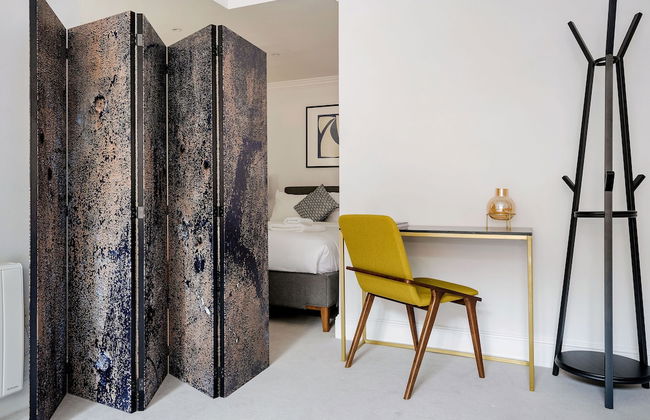
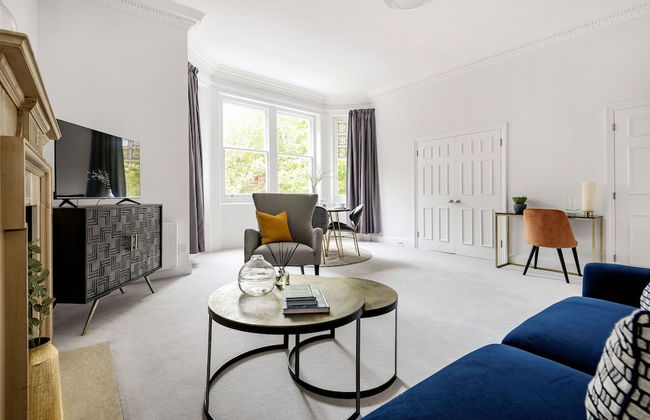
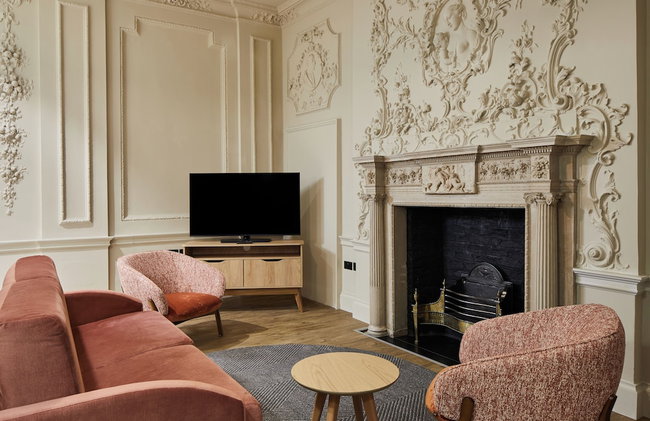
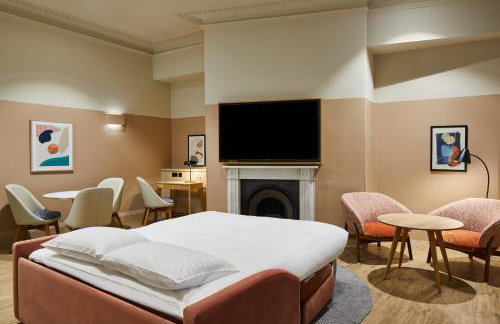
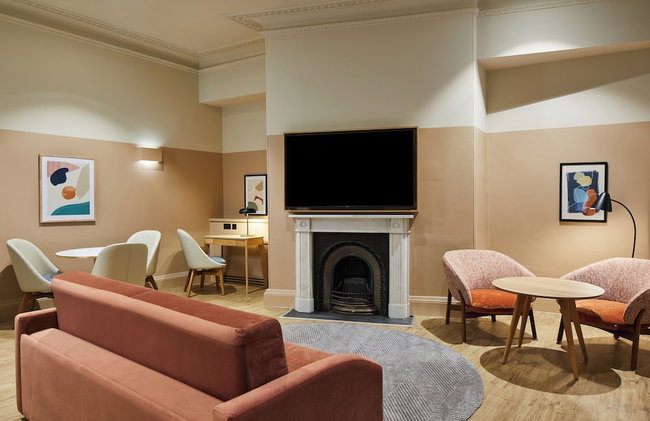
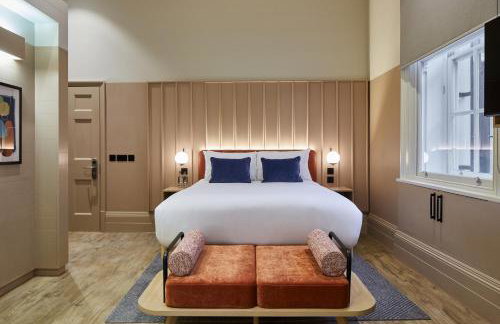
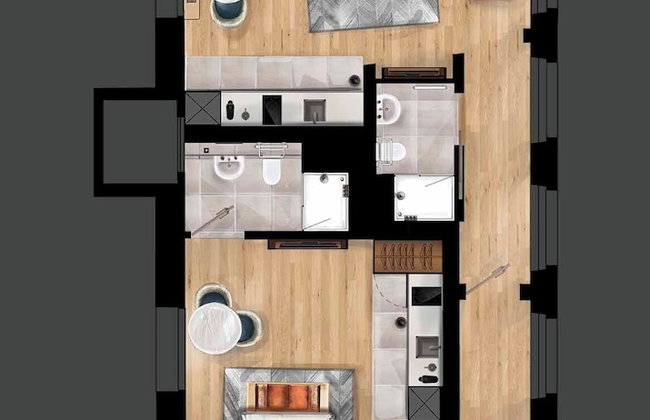
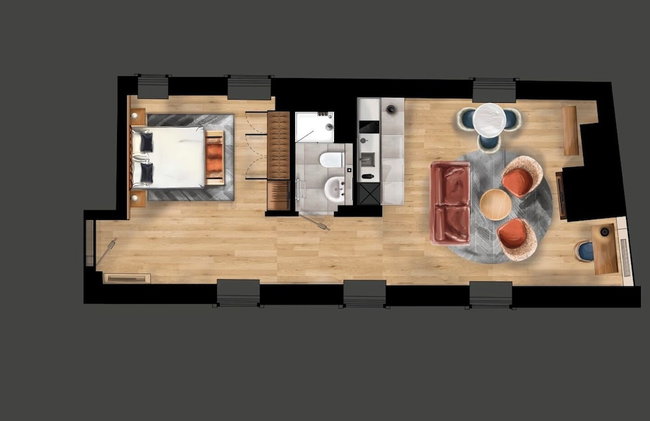
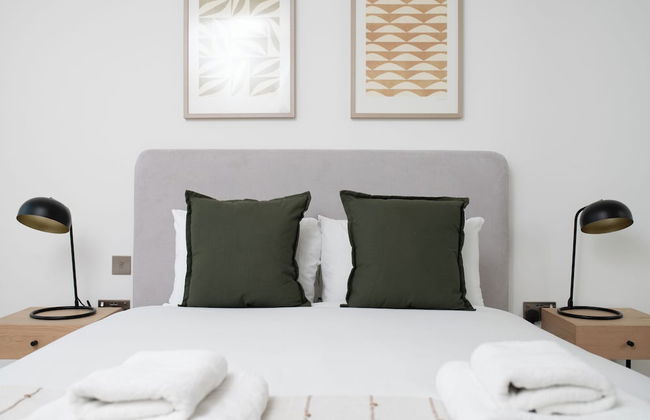
Museum View
London - Bloomsbury - 770 m from the center
- 75 M2
- 6 people
- Heating
- Tv
- Washing machine
- Fireplace
- Bath linen
- Bed linen


3 Sloane Gardens by UnderTheDoormat
London - Chelsea - 2.1 km from the center
- 51 M2
- 4 people
- Air conditioning
- Heating
- Elevator
- Garden
- Tv
- Washing machine
- Bath linen
- Bed linen


The Rosebery by Supercity Aparthotels
London - City of London - 1.7 km from the center
- 53 M2
- 2 bedrooms
- 4 people
- Air conditioning
- Heating
- Elevator
- Tv
- Washing machine
- Bath linen
- Bed linen


master Cannon
London - City of London - 2.2 km from the center
- 78 M2
- 3 bedrooms
- 6 people
- Air conditioning
- Heating
- Elevator
- Tv
- Washing machine
- Bath linen
- Bed linen


Cove Cannon Street
London - City of London - 410 m from Saint Paul's Cathedral
- 43 M2
- 3 people
- Air conditioning
- Heating
- Elevator
- Tv
- Washing machine
- Bath linen
- Bed linen


Native Bankside
London - Southwark - 270 m from Tate Modern
- 81 M2
- 2 bedrooms
- 6 people
- Air conditioning
- Heating
- Elevator
- Tv
- Washing machine
- Bath linen
- Bed linen


Citadines Islington London
London - Islington - 3.5 km from the center
- 40 M2
- 1 bedroom
- 4 people
- Air conditioning
- Heating
- Elevator
- Tv
- Bath linen
- Bed linen


130 Queen's Gate Apartments
London - South Kensington - 3.3 km from the center
- 180 M2
- 4 bedrooms
- 8 people
- Air conditioning
- Heating
- Terrace
- Parking
- Elevator
- Balcony
- Tv
- Washing machine
- Bath linen
- Bed linen


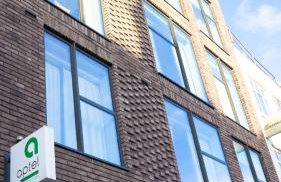

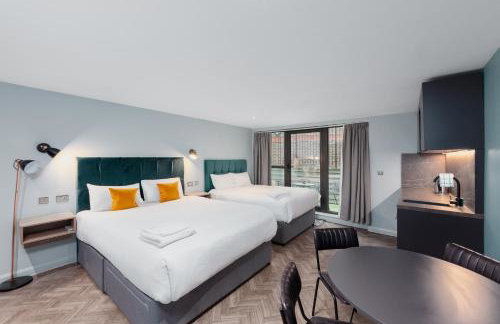


Aptel East
London - Tower Hamlets - 4.2 km from the center
- 25 M2
- 1 bedroom
- 4 people
- Kitchenette
- Air conditioning
- Heating
- Terrace
- Elevator
- Tv
- Bath linen
- Bed linen


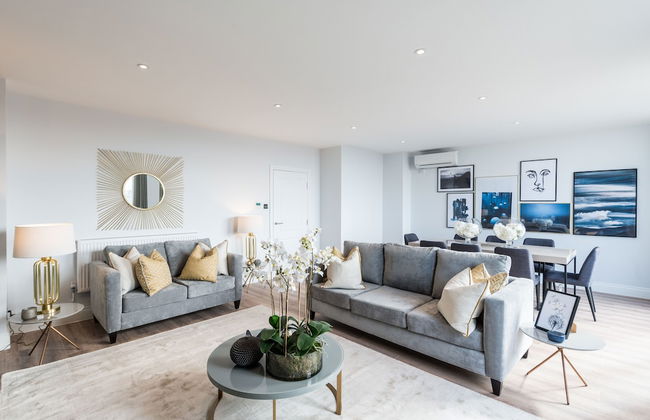
Be London - The Bloomsbury Residences
London - City of London - 1.4 km from the center
- 119 M2
- 3 bedrooms
- 6 people
- Air conditioning
- Heating
- Balcony
- Tv
- Washing machine
- Bath linen
- Bed linen
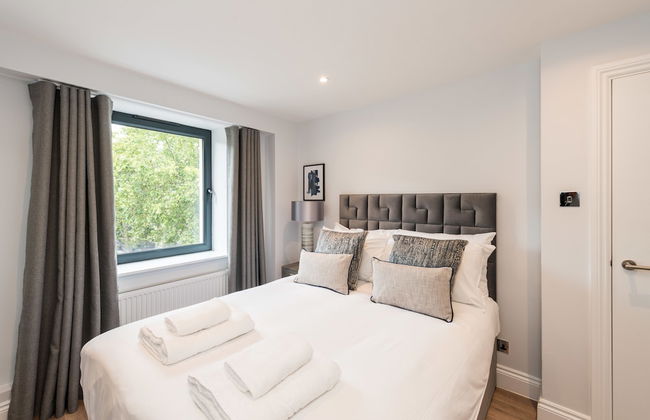


The Carlyle by Nestor
London - South Kensington - 4.2 km from the center
- 170 M2
- 8 people
- Heating
- Elevator
- Tv
- Washing machine
- Bath linen
- Bed linen


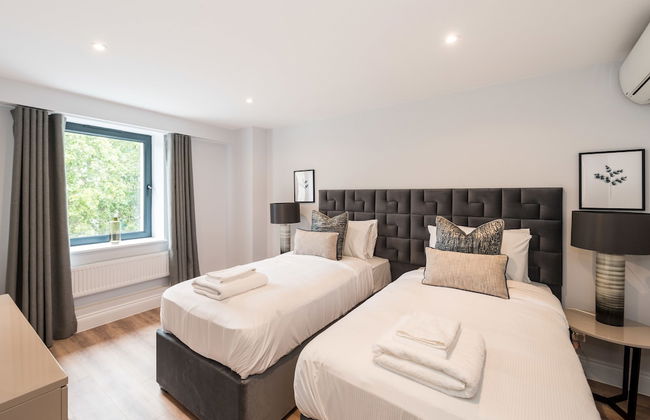
Ashburn Court Apartments
London - South Kensington - 3.8 km from the center
- 87 M2
- 3 bedrooms
- 7 people
- Air conditioning
- Heating
- Elevator
- Tv
- Washing machine
- Bath linen
- Bed linen


The Moorgate by Cove
London - City of London - 2.4 km from the center
- 35 M2
- 4 people
- Air conditioning
- Heating
- Elevator
- Tv
- Washing machine
- Bath linen
- Bed linen
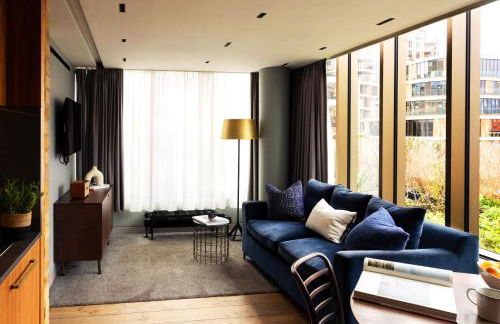
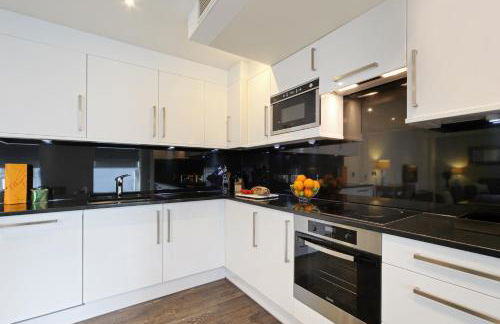
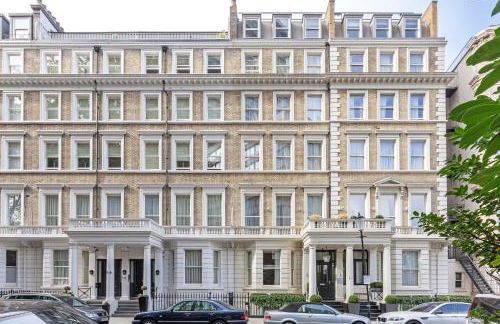
Apartments in London -- Budget City Accommodation
London is perhaps the most famous and best-loved city in the world. Its cosmopolitan atmosphere is imbued with a constant buzz that bounces off the major attractions, the incredible architecture, and the rich heritage. There are so many different sides to London, form luxurious neighbourhoods to urban hotspots and quirky old streets and a trip there will have you stepping back in time to a more regal, romantic period but with the added benefits of the huge diversity that the city has in the modern day. For the perfect place to stay in England's capital, check out our great range of apartments in London that are dotted throughout the city, including cheap studios with fantastic skyline views and boutique rentals within walking distance of all the major sights.
The Many Faces of London -- Top Neighbourhoods
London is a tapestry of different neighbourhoods, each with their own distinct personalities and attractions to offer. The South Bank area is a popular stretch of London that sprawls out alongside the Thames from Westminster Bridge to London Bridge and is filled with museums, galleries, and a selection of theatres. Along the river bank there are numerous street performers and an eclectic selection of locals who choose this area as their hangout. Then there's Covent Garden, one of the best-loved areas of London. Here, you can wander through a quirky selection of boutique stalls and shops and dip in and out of independent cafes serving an experimental selection of cupcakes and coffee. This area is also home to the Royal Opera House and is the go-to place for evening entertainment.
Camden is a grittier area with a young crowd who spend their days strolling through the many street markets and sitting outside cafes soaking up the creative atmosphere. South Kensington is another popular neighbourhood and boasts rows of luxurious town houses as well as Exhibition Road which is home to some of the city's most famous galleries and museums. Then there's Shoreditch, an up-and-coming district of London that is popular with the young, trendy crowd. It has a huge emphasis on the arts and is also home to the Curry Mile, which oozes with delicious smells and colours stemming from India.
We have London apartments in all of these neighbourhoods and more.
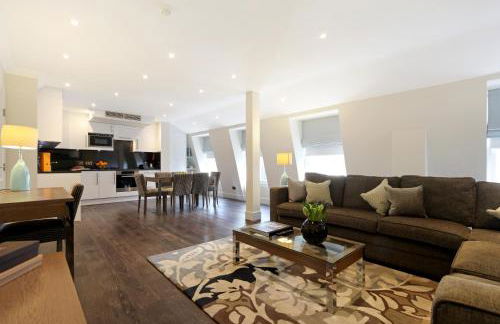
London Accommodation
This regal city offers as many different accommodation options as it does world-famous attractions. Throughout the historic streets, there are an endless supply of internationally renowned hotels that feature traditional English charm and an impossibly high level of service. But there are also plenty of laidback hostels and quaint guesthouses, too. Like its many districts, London accommodation offers a rotating selection of places to stay, from Victorian townhouses in Chelsea and five-star hotels in Kensington, to stylish hostels in Shoreditch and cheap apartments in Covent Garden.
Time Travel Around the Thames -- Things to do in London
- London Eye -- A fairly new edition to London's skyline, the Eye is a huge Ferris wheel situated on the Thames that offers spectacular views across the city.
- Tower of London -- This historic castle hugs the Thames and boasts an impressive architectural style.
- Buckingham Palace -- The Queen's residence is a major tourist attraction set inside a grand building with beautifully manicured grounds.
- Paul's Cathedral -- Sitting at the highest point in the city, this breath-taking cathedral watches over the city like an ancient guardian. Its exterior is impressive, but its interior is equally as beautiful with high ceilings, ornate frescoes, and gold details.
- Natural History Museum, London -- One of the world's best loved museums, it harbours an assorted mix of objects and artefacts that explain natural history in the UK and further afield.
- Tate Modern, London -- This contemporary art gallery is the bastion of modern culture in London, showcasing an international selection of art by some of the world's most famous artists.
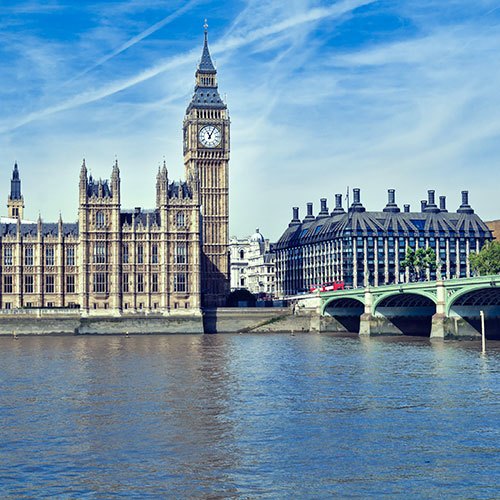
- Palace of Westminster -- The home of the House of Commons and Lords, this architecturally inspiring building sprawls out alongside the Thames.
- Victoria and Albert Museum -- Set inside an intricately beautiful building, this is the world's largest decorative arts museum, exhibiting a range of textiles, sculptures, and mixed media pieces from all over the world.
- National Gallery, London -- Located in the popular hub of Trafalgar Square, the National Gallery boasts an expansive collection that spans back to the 13^th^
- Madame Tussauds London -- A popular tourist attraction in London, this museum is renowned for its displays of wax works depicting celebrities.
- Tower Bridge -- This iconic bridge is located near the Tower of London and is perhaps one of the most recognisable scenes in London.
- British Museum -- Dedicated to the history and culture of human life, this world-famous museum houses all manner of objects from all over the world.
- Big Ben -- Perhaps the best-known clock in the world, Big Ben stands proudly at the end of the Palace of Westminster.
- Hyde Park -- This expansive park sprawls out in one of the more luxurious districts of London and is the site of numerous events and concerts throughout the year.
- London Dungeon -- Set on the edge of the Thames, this museum highlights the dark historical events of the city in a family-friendly way.
- Westminster Abbey -- This grand, Gothic church sits to the west of the Palace of Westminster.
- Trafalgar Square -- This major tourist hotspot boats a large fountain and is surrounded by some of London's most impressive buildings, including the National Gallery.
- London Zoo -- Surrounded by Regent's Park, this popular zoo is home to a large collection of exotic and domestic animals.
- Globe Theatre, London -- Associated with Shakespeare, this well-known theatre showcases a range of top-notch plays and performances throughout the year.
- Science Museum, London -- Located on Exhibition Road in the upmarket South Kensington area, this museum boasts a range of interactive exhibits that highlight scientific wonders.
Find the perfect place to stay by looking through our huge collection of apartments in London that are located near all the major hotspots above.
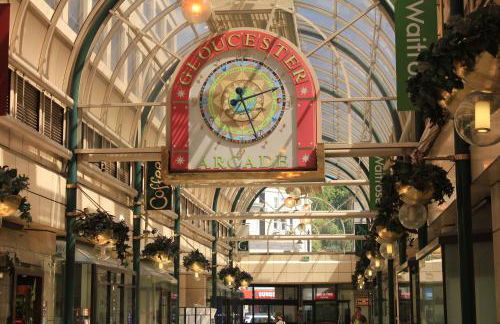
Flowers and Frills -- London's Best Markets
London is a hotbed of markets that sell everything from flowers and second-hand clothes to ornate trinkets and exotic foods. Camden Market is perfect for vintage lovers and boasts rows of stalls piled high with quirky clothes and vintage knickknacks, Columbia Road Flower Market does exactly as it says on the tin, serving up a riotous display of colour, and Borough Market is the perfect place to go for a bite to eat. The undercover area next to London Bridge boasts fresh produce from all over the world, including game burgers and exotic smoothies.