
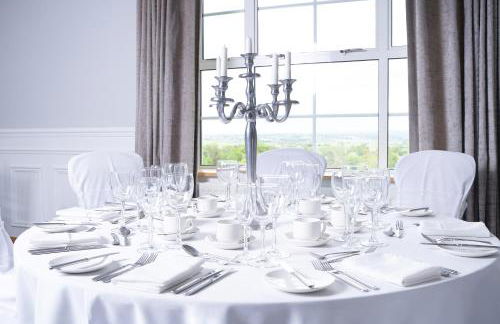
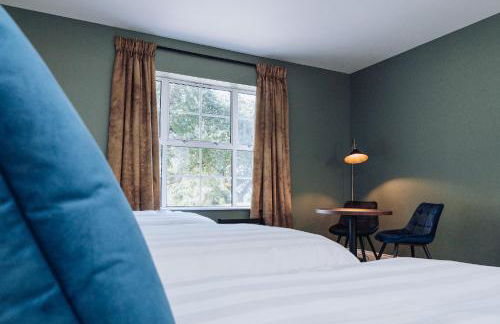
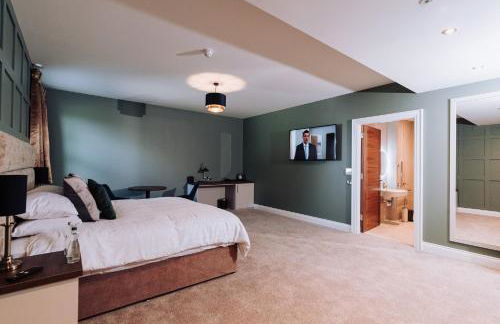
3077 Apartments in Northern Ireland


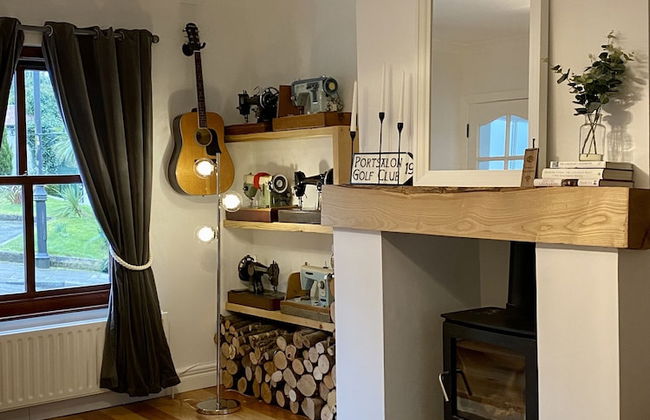


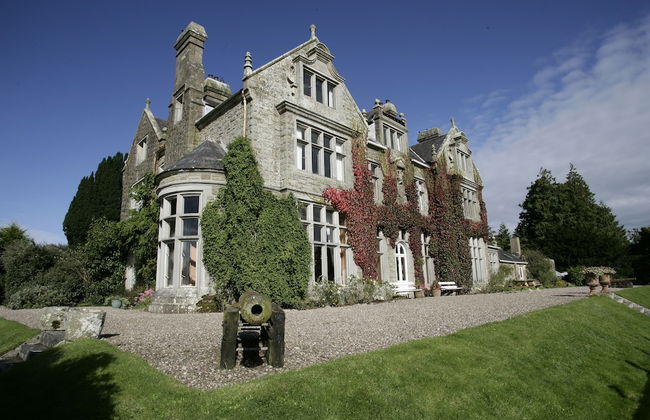
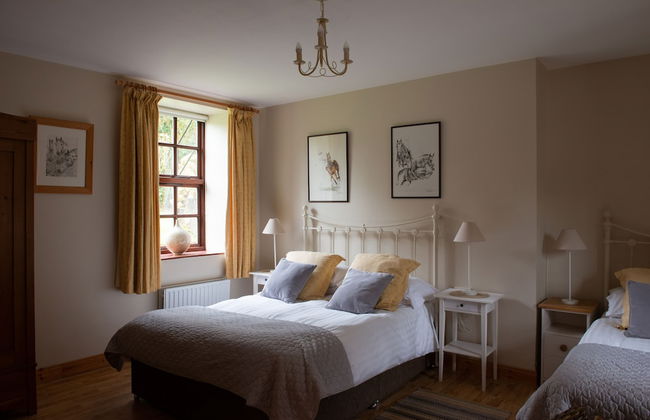
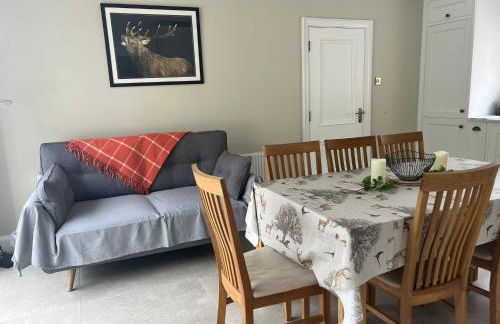
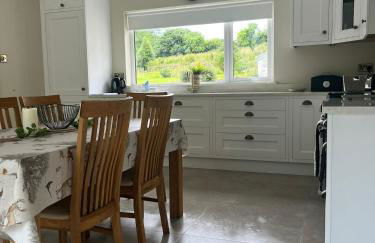
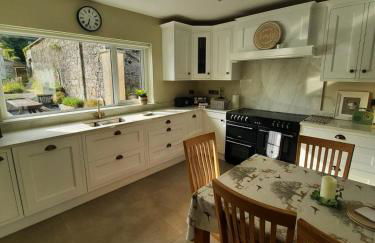
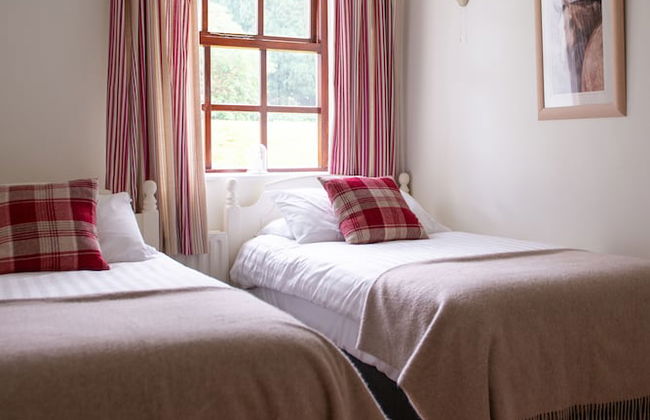
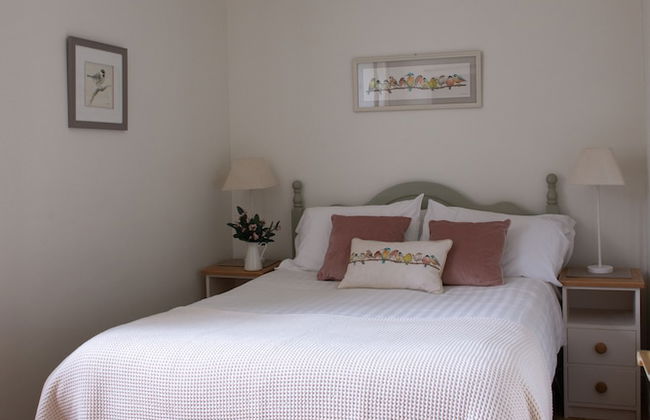
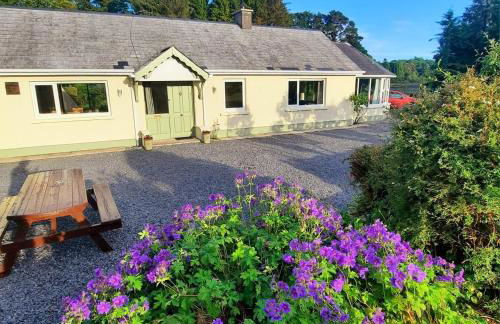
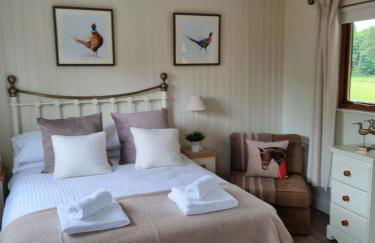
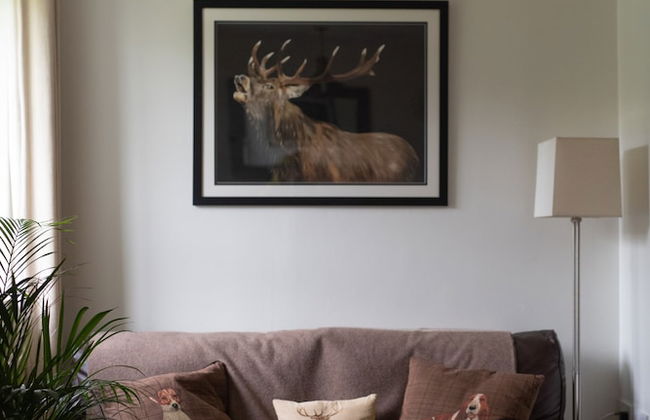
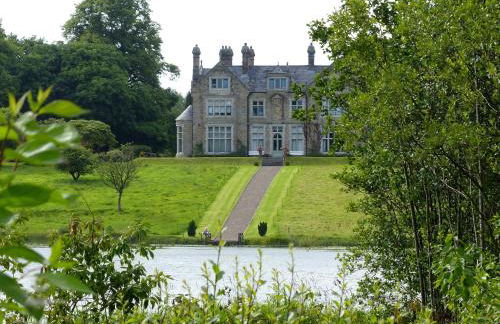
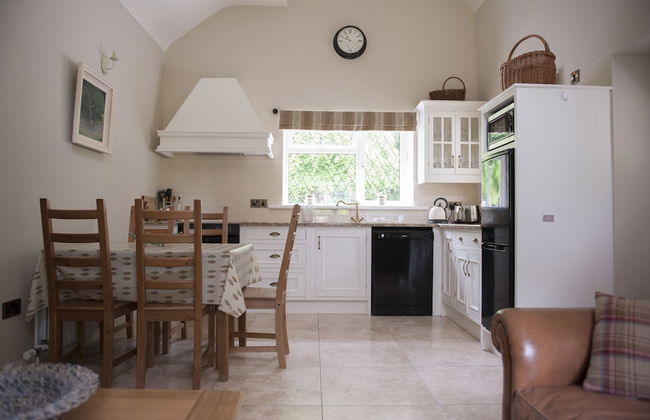
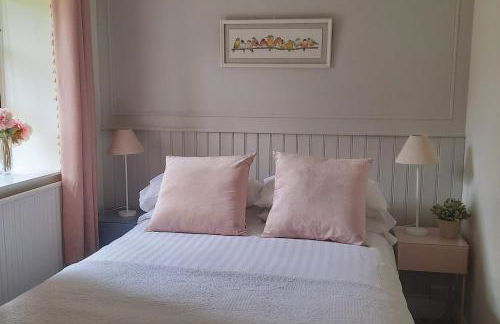
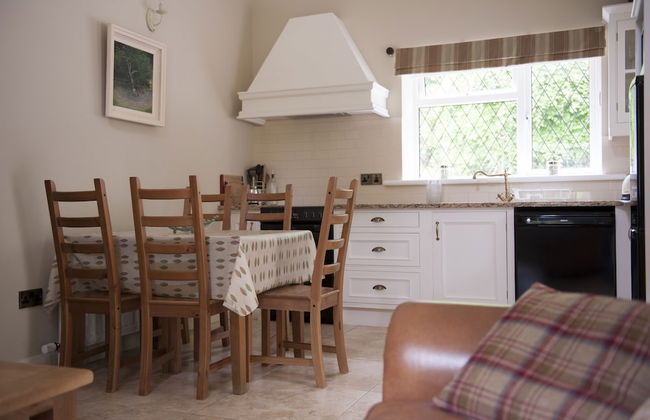
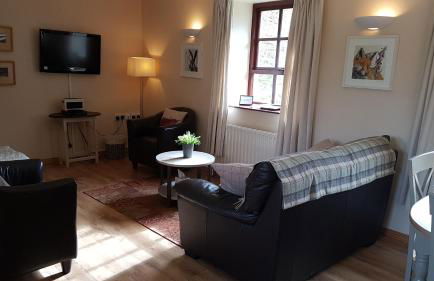
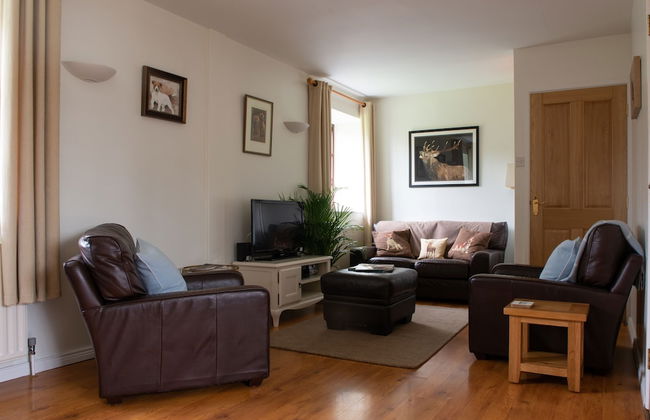
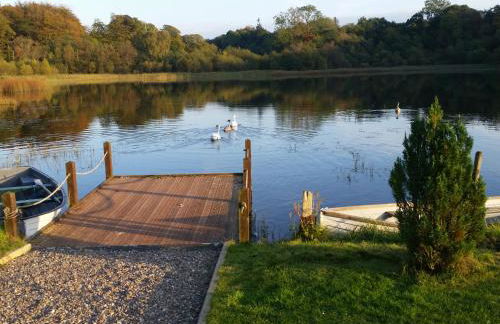
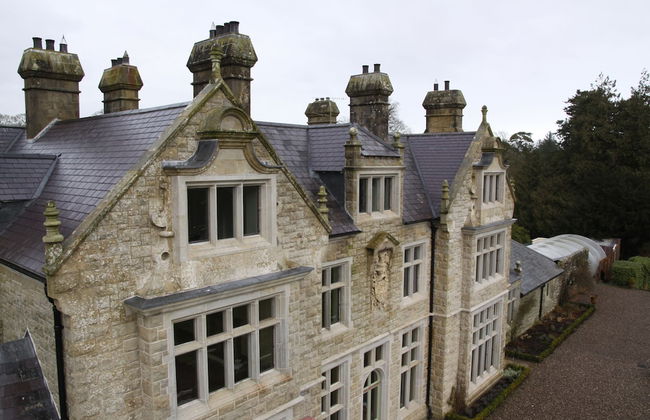
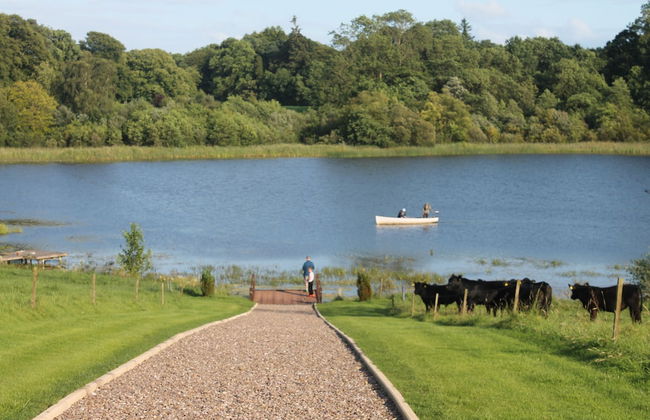
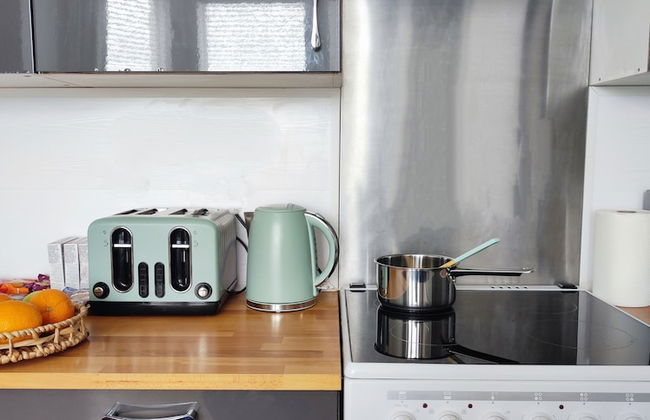
Picturesque Village House
Enniskillen - Kesh
- 100 M2
- 4 people
- Heating
- Terrace
- Parking
- Balcony
- Garden
- Tv
- Washing machine
- Fireplace
- Bath linen
- Bed linen
15 reviews


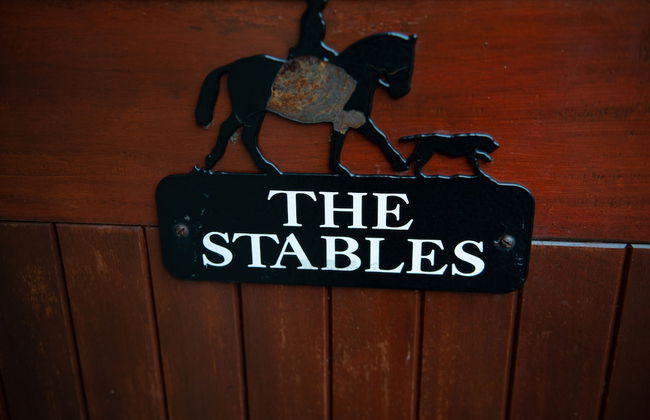
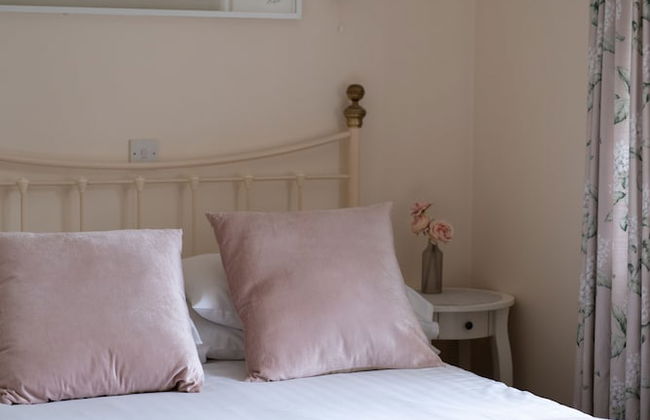
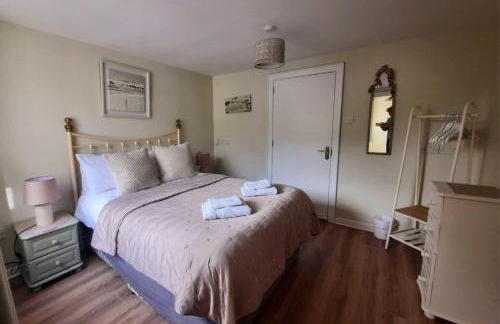
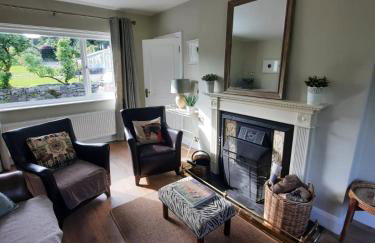
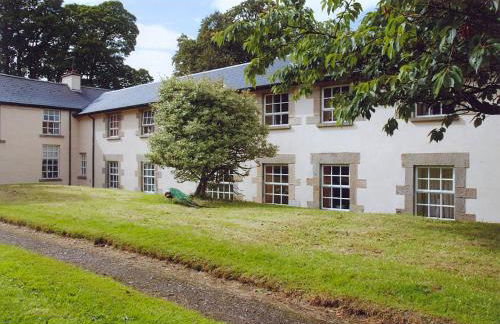
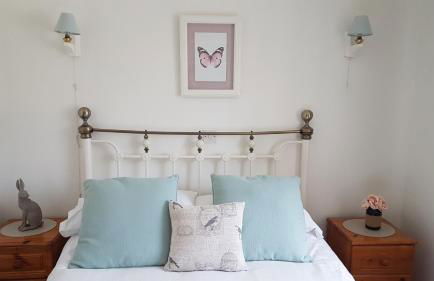
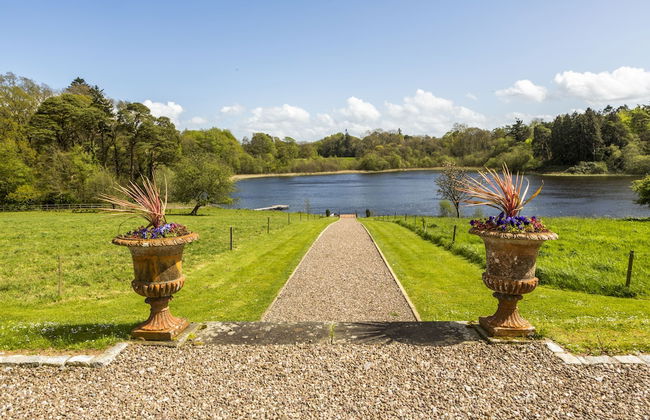
Stable Cottage - Kinbane Self Catering Cottages
Ballycastle - Ballycastle
- 14 M2
- 2 people
- Heating
- Terrace
- Parking
- Garden
- Tv
- Washing machine
- Fireplace
- Barbecue
- Bath linen
- Bed linen
41 reviews


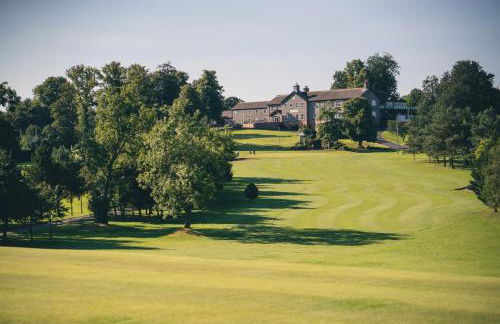

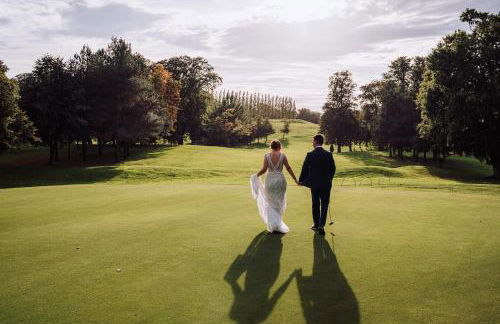


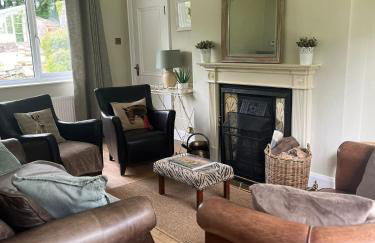
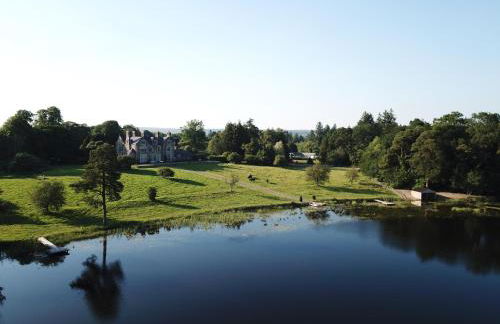
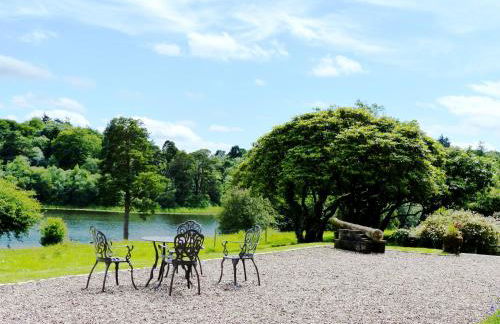
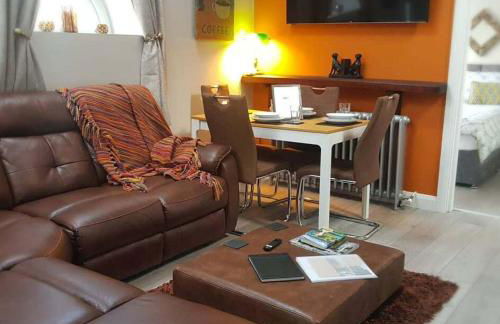
Edenmore Golf and Country Club
Craigavon - Donaghcloney
- 40 M2
- 4 people
- Air conditioning
- Heating
- Parking
- Elevator
- Tv
- Bath linen
- Bed linen
20 reviews


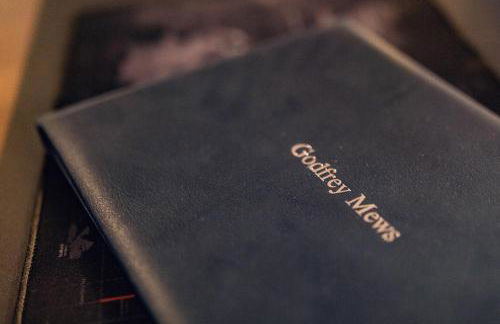


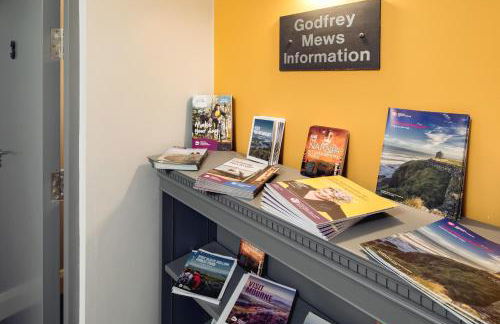


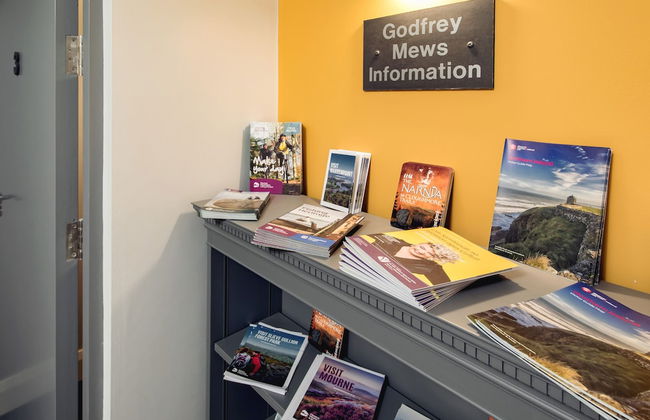
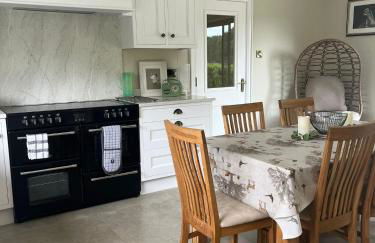
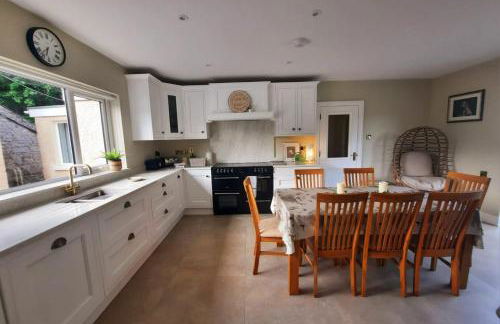
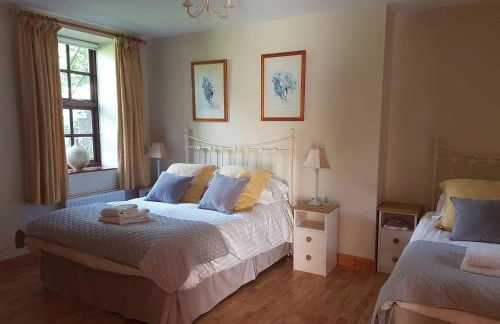
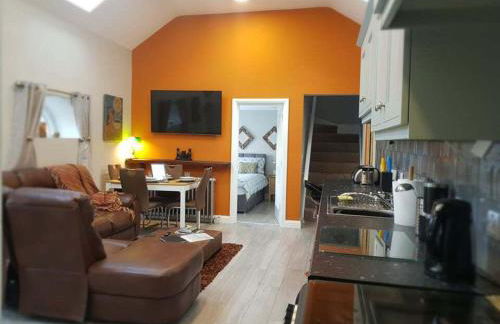
Godfrey Mews
Newry - Cloughoge
- 86 M2
- 2 bedrooms
- 4 people
- Air conditioning
- Heating
- Parking
- Elevator
- Tv
- Washing machine
- Bath linen
- Bed linen
29 reviews


Curran Gate Luxury Apartments, Portrush
Portrush - Portrush
- 153 M2
- 6 people
- Heating
- Terrace
- Parking
- Elevator
- Balcony
- Garden
- Tv
- Washing machine
- Bath linen
- Bed linen
16 reviews
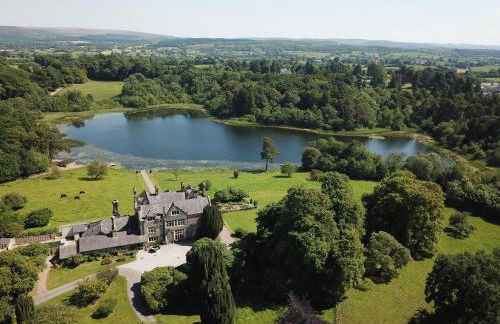


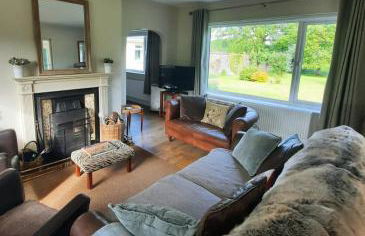


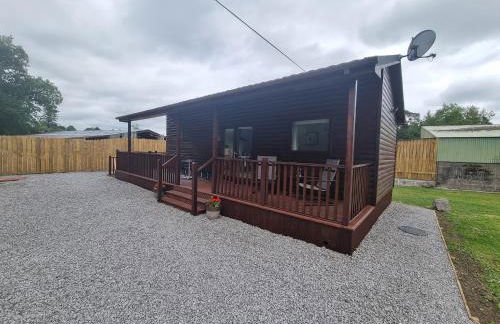


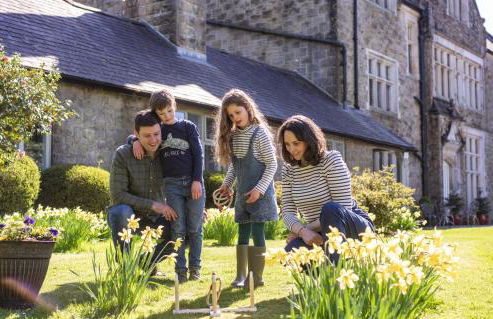
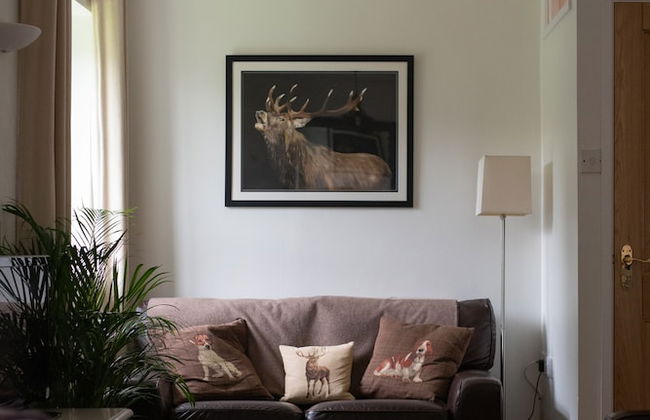
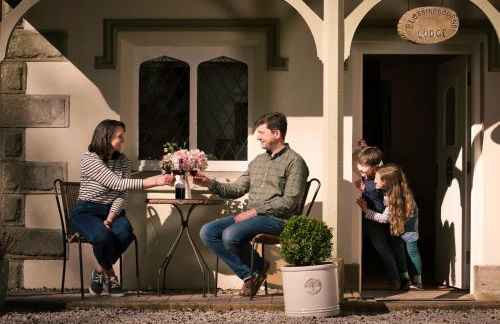


Blessingbourne Cottages & Apartments
Fivemiletown - Fivemiletown
- 4 bedrooms
- 5 people
- Heating
- Terrace
- Parking
- Garden
- Tv
- Barbecue
- Bath linen
- Bed linen
10 reviews


Magical 3-bed Stone Built Cottage - Sleeps 6
Ballynahinch - Ballynahinch
- 90 M2
- 3 bedrooms
- 6 people
- Heating
- Parking
- Tv
- Bath linen
- Bed linen
10 reviews


Ballymultimber Cottages - traditional cottages on the Causeway Coast
Limavady - Limavady
- 80 M2
- 3 bedrooms
- 5 people
- Kitchenette
- Heating
- Parking
- Garden
- Tv
- Washing machine
- Fireplace
- Barbecue
- Bath linen
- Bed linen
25 reviews


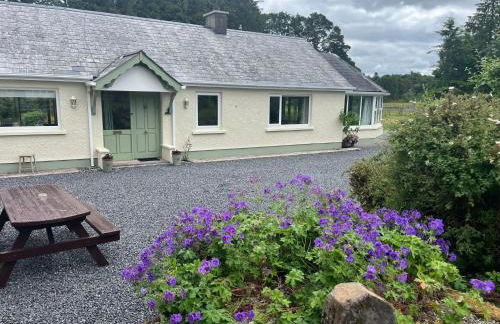
Stay Lagom Lodge
Ballycastle - Ballycastle
- 5 people
- Heating
- Terrace
- Parking
- Garden
- Tv
- Fireplace
- Barbecue
- Bath linen
- Bed linen
25 reviews


Sunset Cottage - Sleeps 6 - Parking - Garden
Limavady - Limavady
- 500 M2
- 2 bedrooms
- 6 people
- Heating
- Parking
- Garden
- Tv
- Washing machine
- Bath linen
- Bed linen
60 reviews


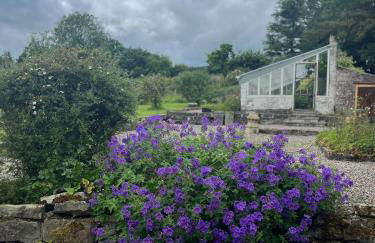
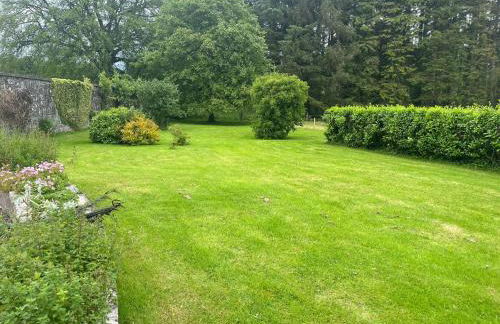
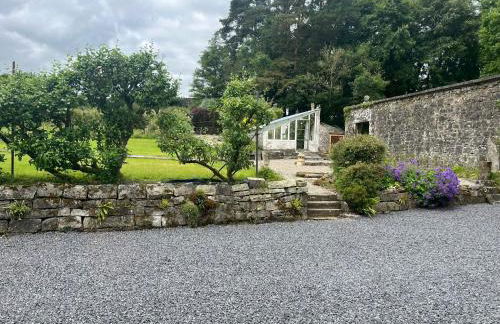
Ballylagan Organic Farm
Ballyclare - Ballyclare
- 204 M2
- 4 bedrooms
- 9 people
- Kitchenette
- Heating
- Parking
- Garden
- Tv
- Washing machine
- Barbecue
- Bath linen
- Bed linen
33 reviews


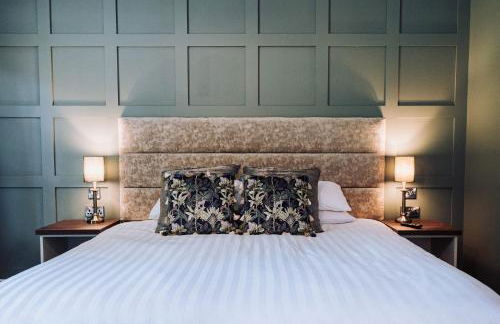
5 Star - The Ulsterville Residences - Free On-site Parking
Belfast - Belfast
- 70 M2
- 2 bedrooms
- 4 people
- Heating
- Parking
- Garden
- Tv
- Washing machine
- Bath linen
- Bed linen
10 reviews


Riverside Apartment
Derry - Derry
- 66 M2
- 2 bedrooms
- 6 people
- Heating
- Parking
- Elevator
- Balcony
- Tv
- Bath linen
- Bed linen
10 reviews


The Enniskillen Hideaway
Enniskillen - Beagh Big
- 25 M2
- 2 bedrooms
- 4 people
- Air conditioning
- Heating
- Terrace
- Parking
- Garden
10 reviews


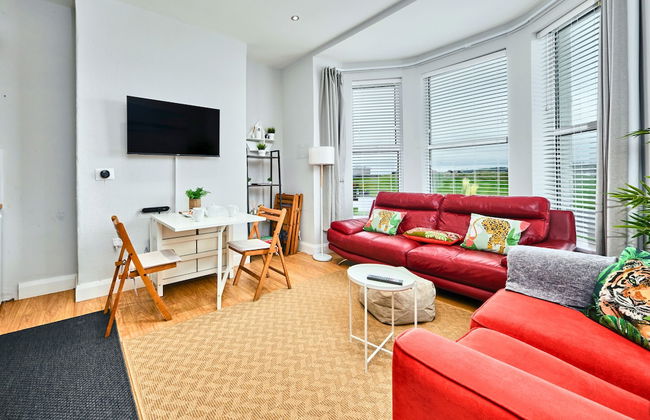


Portrush Apt with Stunning Sea Views- West Beach 5
Portrush - Portrush
- 47 M2
- 2 bedrooms
- 5 people
- Heating
- Terrace
- Parking
70 reviews


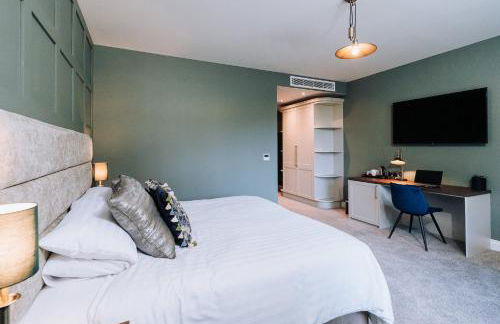
Central Belfast Apartments: Alfred Street
Belfast - Belfast
- 79 M2
- 4 bedrooms
- 6 people
- Heating
- Tv
- Washing machine
- Bath linen
- Bed linen
17 reviews


Stable Court Apartments
Antrim - Muckamore
- 70 M2
- 6 people
- Heating
- Terrace
- Parking
- Garden
- Tv
- Washing machine
- Barbecue
- Bath linen
17 reviews


Great Location - City Centre - Parking - 4 Beds - 2 Bedrooms
Belfast - Belfast
- 65 M2
- 2 bedrooms
- 5 people
- Heating
- Terrace
- Parking
- Balcony
- Garden
- Tv
- Washing machine
- Bath linen
- Bed linen
10 reviews